How to Repair a Broken Box Chain: Complete Guide
A chain breaks at the worst possible moment. It snags on a sweater while you pull it over your head. It slips off your neck straight into the sink. Or it quietly gives way at the clasp after years of daily wear, and you find it on the floor. If your square-link chain (often called a box chain) has failed, that is not a death sentence. Most breaks can be fixed with the right approach.
This guide explains exactly where a box chain breaks, what you can realistically fix yourself, when you need a jeweler, what it costs, and how to stop it from breaking again. No vague talk about how jewelry needs care. Just specifics about one specific type of chain.
The box chain differs from most other weaves because repairing its links calls for a different method than, say, an anchor or curb chain. Knowing that difference helps you with home repairs, helps you talk to a jeweler, and helps you judge the quality of finished work.
Anatomy of a box chain: how it is built and why it breaks the way it does
Before talking about repair, it helps to understand what a box chain is made of and how it differs from more familiar weaves.
Each link is a hollow cube or rectangular tube formed from sheet metal. The links connect at right angles through side openings, slotting into one another. This creates the smooth, even surface with no gaps that looks so good in daylight.
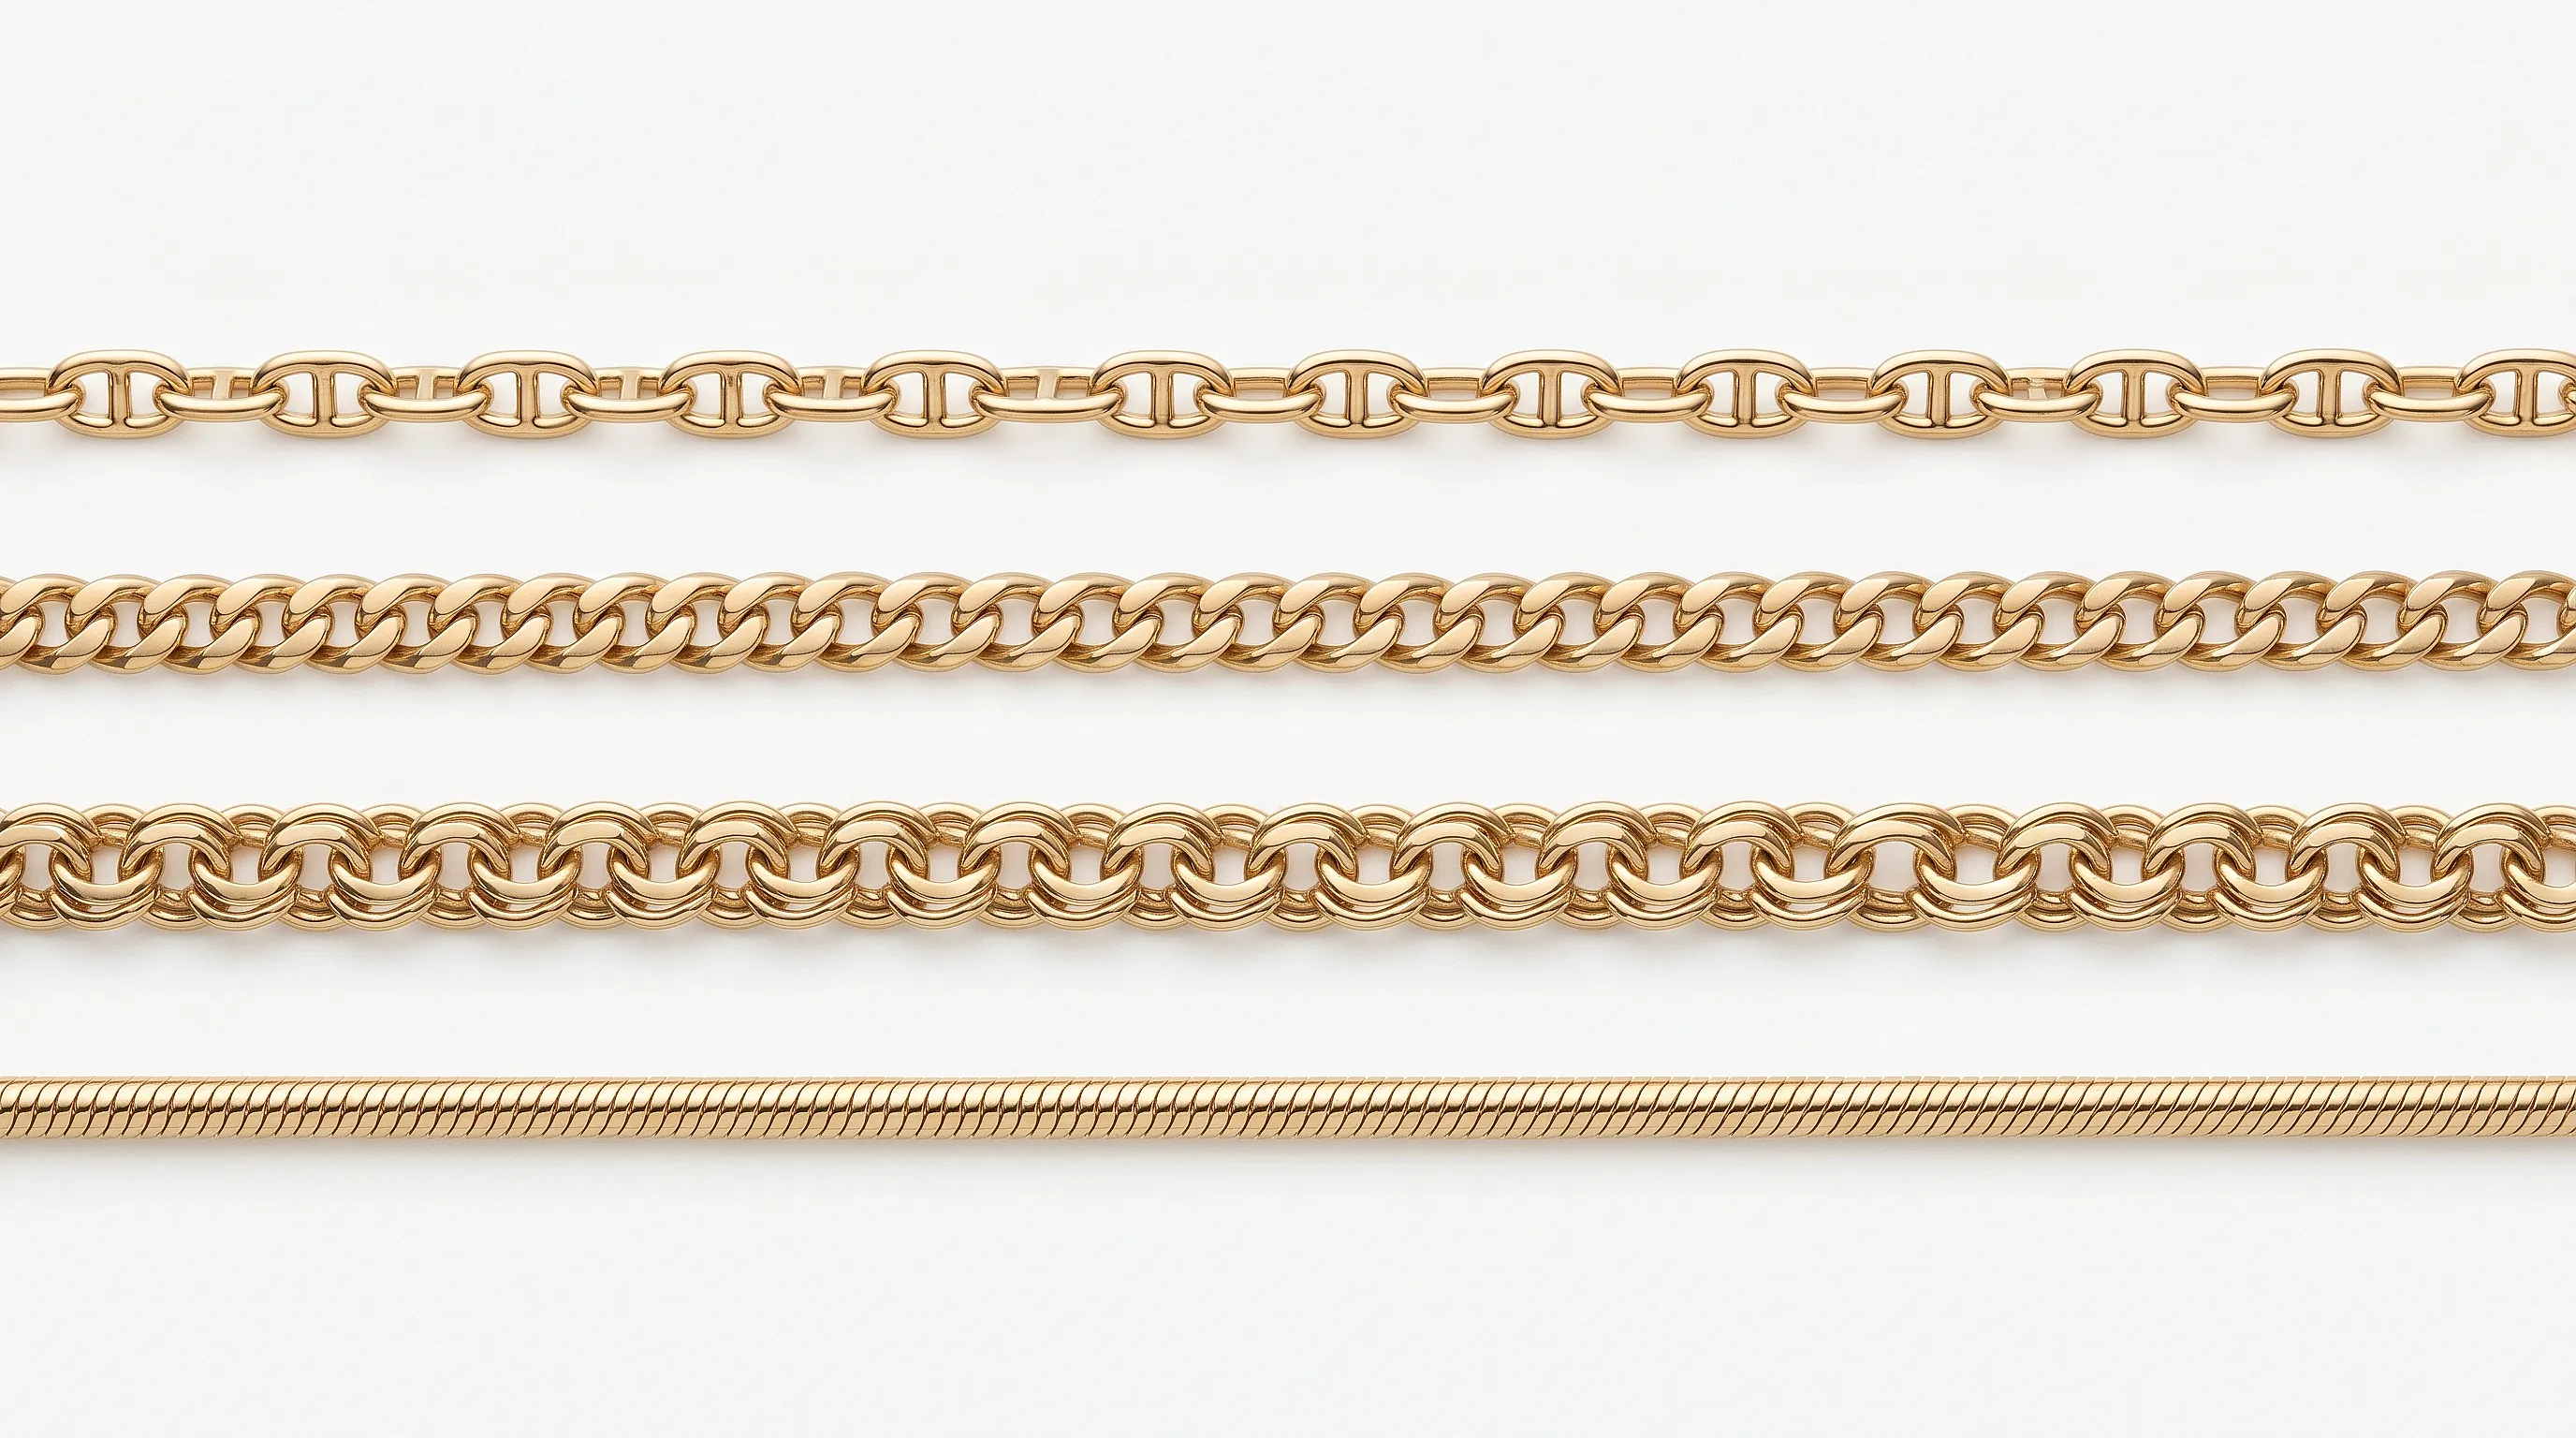
For comparison, in an anchor chain each link is bent from wire into a ring that you can open with pliers. In a curb chain the links are flat and also open. In a box chain the link is stamped or soldered closed at the factory. Opening it without distortion is nearly impossible. That is why repairing a box chain needs a different method.
A few structural details matter for understanding how breaks happen:
A single tube of sheet metal. The walls of such a tube are thin, especially in chains under 2 mm. In the thinnest pieces the wall is about as thick as a sheet of heavy paper. Under heavy load or repeated bending in one spot, that wall cracks.
A connection through side slots. The links hold together through a precise mechanical fit. Under strong tension along the length of the chain, that fit is the first thing to come apart, because it is seated, not welded.
Square geometry creates corner stress points. When the chain twists, the load concentrates on the edges of the cube. Over time the edges fatigue and crack before the flat parts of the link.
A smooth, ridge-free surface hides defects. A small crack on an anchor chain shows up at once because the link opens slightly. On a box chain, a crack in a link wall can be almost invisible right up to the moment of complete failure.
Where the chain breaks most often: five typical weak spots
Box chain breaks are not random. They happen in predictable places for understandable reasons. Knowing those places helps both when you inspect after a break and when you check for trouble before one.
The zone near the clasp
The most common failure point on any chain. Here the chain takes repeated load every single day: fastening, unfastening, pulling as you put it on. The links near the clasp flex and twist far more often than the rest. With daily wear that adds up to thousands of stress cycles a year.
The metal in this zone is the first to accumulate fatigue damage. First a barely visible crack appears on the wall of the link nearest the clasp, then it grows, and one day the chain gives way right there. This kind of break shows up on every type of chain, but the thin walls of a box chain make it especially common.
The pendant attachment link
The second most frequent trouble spot. If you wear the chain with a pendant, the whole weight of the pendant rests constantly on one or two links. A heavy pendant creates a vertical pull and also swings the chain as you move. Under a sudden yank (a child grabbing the pendant, for example) this is where it breaks first.
Sometimes it is not the chain link that fails but the bail on the pendant itself, or the jump ring between pendant and chain. It is worth working this out before any repair, because in the first case you fix the chain and in the second you only need to replace the jump ring or the bail on the pendant.
A section worn down over years
After several years of daily wear, links in the zones of constant movement start to wear from the inside. The metal grinds away from repeated contact with neighboring links. First the wall thins a little, then a crack forms, then a full break.
A telling detail of this kind of break: the chain usually does not fail suddenly. Before the break you can see visible distortion in the links along that stretch, and they start to look slightly different from the rest. If you spot a stretch like that during an inspection, take the chain to a jeweler before it drops.
The corner edges of the links
On a box chain the maximum mechanical stress during twisting concentrates exactly on the edges of the cube. A corner edge can crack on a sharp turn or a knock against a hard surface. The catch with this break is that the chain keeps holding for a while, until the crack widens into a complete break.
This is the case where a preventive inspection under a loupe genuinely helps you catch the problem early.
The clasp itself
The clasp ages independently of the chain. The spring in a spring ring weakens, the locking mechanism in a barrel clasp wears, the hinge loosens. Outwardly the clasp may look fine yet stop closing reliably.
Such a clasp is dangerous precisely because it does not break the chain. It just quietly opens at an accidental touch, and the chain slips off unnoticed. If you notice the clasp opening on its own sometimes, or that it now takes very little effort to open, that is a sign of wear. Replace the clasp before the chain is lost.
Can you fix it at home: an honest assessment
The short answer: it depends on the type of break. A box chain is harder to repair at home than an anchor or curb chain, because you cannot simply bend the links back without ruining the geometry. But a range of repairs are well within reach of anyone with steady hands.
What you can realistically do at home without special equipment:
Replace the clasp. If the chain is intact and only the clasp has failed, no special tools are needed. Two flat pliers, a new clasp of the right type, and five minutes.
Replace or close a jump ring. If the ring between the clasp and the chain has sprung open, or the ring holding the pendant, that is also a home job with pliers.
Gently close a separated link. If the end link of the chain has opened a little but not cracked, you can try to close it with two pliers, provided the link has not lost its shape.
Fit a temporary connector. A jump ring of the right diameter works as a temporary fix while the chain waits for its trip to the jeweler.
What you cannot fix at home without special equipment:
A cracked or broken link in the middle of the chain. This needs soldering. Without the right torch, flux, and solder it cannot be done.
Several worn neighboring links. This needs a section of chain replaced.
Restoring the geometry of deformed links. If links are crushed or twisted, they cannot be brought back without jewelry tools and experience.
A break at the pendant attachment with damage to the pendant itself. This needs a professional.
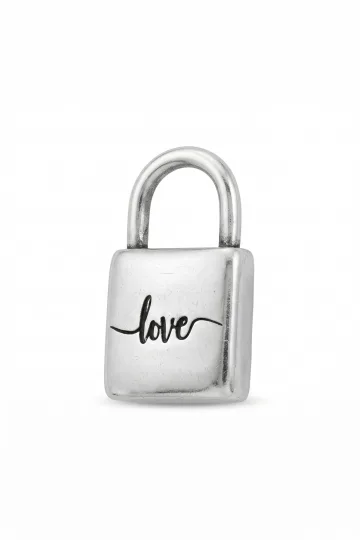
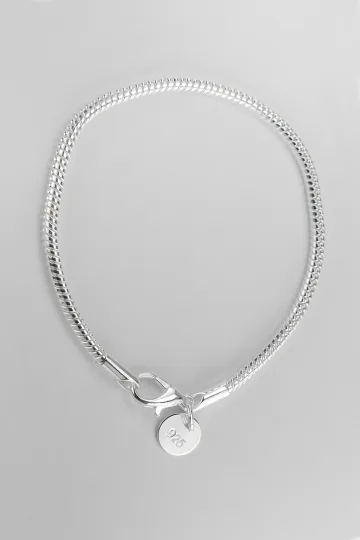
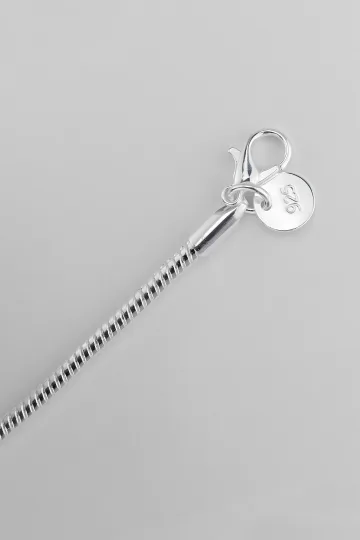
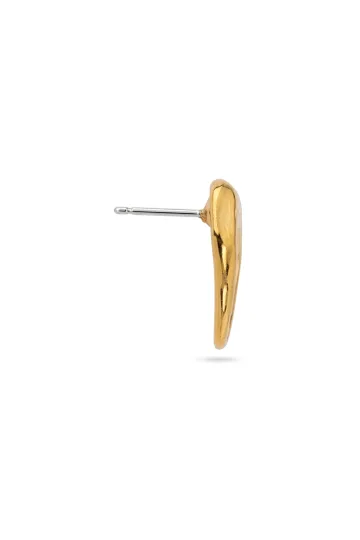
Wear the symbol, don't just read about it. These are in stock:

Tools for home repair: what to buy and what to skip
If you plan to do basic jewelry repairs at home (changing clasps, working with jump rings), it is worth putting together the right kit once. It is a small outlay that pays for itself the first time you replace a clasp.
Pliers for jewelry work
You need two kinds: flat-nose pliers with straight, flat jaws, and round-nose pliers with conical jaws. The flat ones handle straight work: closing jump rings, holding clasps. The round-nose pliers help you form loops when needed.
The key requirement: the working surface of the jaws must be smooth, with no serrated teeth. Toothed pliers leave scratches on soft metals such as silver and gold. If all you have is toothed pliers, you can temporarily wrap the jaws in a few layers of electrical tape.
Store pliers in a dry place. Steel tools rust in humidity, and the rust transfers to the jewelry on contact.
A stock of jump rings
It is handy to keep a small set of jump rings in 4, 5, and 6 mm diameters, in sterling silver 925 and in stainless steel. Silver ones suit silver pieces, stainless ones work as a temporary fix for any metal. Gold rings are better bought separately for a specific piece.
A set of clasps in different types
A small assortment of spring rings and hinged clasps in a few sizes saves time when you need it. Clasps keep well and are used up slowly.
A loupe or magnifying glass
A loupe at 5 to 10 times magnification makes work with small parts far easier and helps during inspection. A jeweler's loupe is compact and inexpensive. You can use the macro mode on a phone camera as a substitute for inspection.
What you do not need to buy for home repair
A mini torch for soldering, if you have no experience with one. An ultrasonic cleaner specifically for repair (it is for cleaning, not repair). Polishing machines and grinding bits without an understanding of how to use them, because it is easy to take off too much metal.
DIY repair: step by step for each scenario
Replacing the clasp: the simplest and most common job
A jewelry clasp attaches through a small jump ring. The whole replacement comes down to removing the old ring (or the old clasp with its ring) and fitting a new one.
What to prepare:
Two flat jewelry pliers without serrated teeth on the working face. Serrated jaws scratch the metal, which is why jewelry work uses smooth-jawed pliers. If all you have is serrated ones, wrap the jaws in electrical or masking tape.
A new clasp of the right type and size. Clasps come in several kinds: spring ring, barrel clasp, lobster claw, magnetic. For everyday wear the lobster claw is the most reliable. The diameter of the clasp's jump ring should match the diameter of the end link of the chain.
Jump rings in case the old ring is deformed. The diameter and wire thickness should match the original, and the metal should be the same as the chain.
The step by step:
First step. Lay the chain on a flat, light surface. A well-lit table helps you avoid dropping and losing parts.
Second step. Grip the jump ring with two pliers, one on each side of the ring's split.
Third step. Twist one pliers toward you and the other away. The ring opens front to back along its axis, not sideways. This matters: pulling sideways deforms the ring so it will no longer close flush.
Fourth step. Take the old clasp off the open ring. Put the new clasp on.
Fifth step. Close the ring in the opposite direction. Bring the ends of the ring together flush with no gap. A gap, even a small one, is a weak point the clasp can slip out of.
The check: pull with moderate force on the clasp and the chain from opposite sides. The connection should give no movement at all.
Closing a separated end link
This repair is harder than changing a ring, because a square link deforms with careless handling. Use the technique only if:
The link has opened a little rather than broken through.
The walls of the link are not cracked or deformed.
The link itself is not warped.
The sequence: grip both ends of the separated link with pliers, holding the tools as close as possible to the line of the break. Slowly bring the edges together flush, lining up the split exactly. Check that the link has taken on a proper square shape rather than a diamond.
If the edges do not meet as you close them, or the link loses its shape, do not push on. This is a job for a jeweler.
Fitting a temporary connector
If you have no suitable tool to hand and you need to hold the chain together temporarily until the jeweler, use a jump ring of the right diameter. Pass it through the end links on both sides of the break and close it. This is not a full repair, and you should not wear the chain like this as your main piece, but it is fine for getting it to a professional.
Customer reviews
Zevira is a real jewellery shop. Genuine payments, deliveries and customer thank-yous.
🥰🥰🥰 gracias
Ok, ¡gracias! 🙂
Soldering at home: when it is possible and why it is usually wiser not to risk it
Some guides recommend home soldering with a mini torch and silver solder. Technically it can be done, if you have experience. But for most people with no jewelry practice it leads to a damaged chain.
What proper soldering needs:
A mini torch with an adjustable flame. An ordinary kitchen gas torch has too broad and hot a flame. You need a torch with a fine, controllable jet, propane or MAPP gas.
Solder that matches the metal of the chain. Silver 925 is soldered with silver solder that melts at a lower temperature than the base metal (roughly 700 to 720 degrees against 960 for pure silver). The wrong solder gives a brittle joint.
Flux for jewelry soldering. It prevents the metal from oxidizing under heat. Without flux the surface scales over and the joint comes out dirty.
A heat-resistant surface. A special jewelry block or ceramic board. Working on a wooden surface is not safe.
Tweezers for holding small parts during heating.
A pickle solution for removing flux after soldering.
The main risks of home soldering:
Overheating the link. The thin walls of a square link melt within seconds when the torch is too close. An experienced jeweler can feel the moment the metal is about to flow. Without that feel, one or two extra seconds of heat destroy the link.
Uneven heating. If you heat only the joint without first warming the whole area, the metal expands unevenly and the connection comes out weak. Proper technique calls for general warming with a gradual shift to the joint point.
Porosity in the joint. Dirt, grease, and oxide residue create pores in the joint. Such a joint looks whole but has reduced strength.
Damage to neighboring links. When you heat one spot, the heat travels along the chain. If the neighboring links are not protected, they heat up too and can deform.
If you want to learn soldering for regular use, it makes sense to practice the technique first on copper or brass wire until you get steady, clean joints. There is no point doing it straight on a chain you love.
When to take it to a jeweler: three scenarios and what happens at the workshop
Before going through the specific scenarios, it helps to compare the repair methods: which one suits a thin weave, how much it heats the neighboring links, where it is done, and which price bracket the work falls into.
Laser welding: the best choice for thin chains
A laser welder creates a focused pulse of energy that melts the metal at a single point, within a zone a fraction of a millimeter across. The surrounding areas barely heat up. For a box chain with its thin walls this is decisive: a torch overheats everything around the joint, a laser works on a single point.
After laser welding the repaired spot is nearly impossible to find by eye. The joint is polished together with the rest of the surface and matches it in shine and texture.
Laser welding is used for: a cracked or broken single link, a repair at the pendant attachment, and pinpoint work without taking the neighboring links apart.
The limitation: not every workshop has a laser welder. When choosing a jeweler for a thin chain, this is the first question worth asking.
Replacing a section: when several links are damaged
If several neighboring links are worn or deformed, the jeweler cuts out the damaged stretch and solders in a new length of chain in the same weave and diameter. This is more involved work than a pinpoint solder.
Done well, the replacement is invisible. The exception: if the original chain has already darkened or shifted color slightly from long wear and the new stretch is fresh metal. In that case the color difference is briefly noticeable, but over time it evens out.
For this repair the jeweler needs a length of chain in exactly the same weave and gauge. Good workshops keep stocks of common weaves. If the weave is rare or unusual, they may ask you to supply the length yourself.
Professional clasp replacement
At a jeweler a clasp change takes 10 to 15 minutes. The professional matches the clasp by diameter and weight, properly solders or mechanically secures the jump ring, and if needed checks the condition of the end links at the same time.
If you are taking the chain in for another reason anyway, it is worth asking them to also assess the clasp and the links next to it. A preventive replacement of a worn clasp costs far less than a repair after the chain is lost.
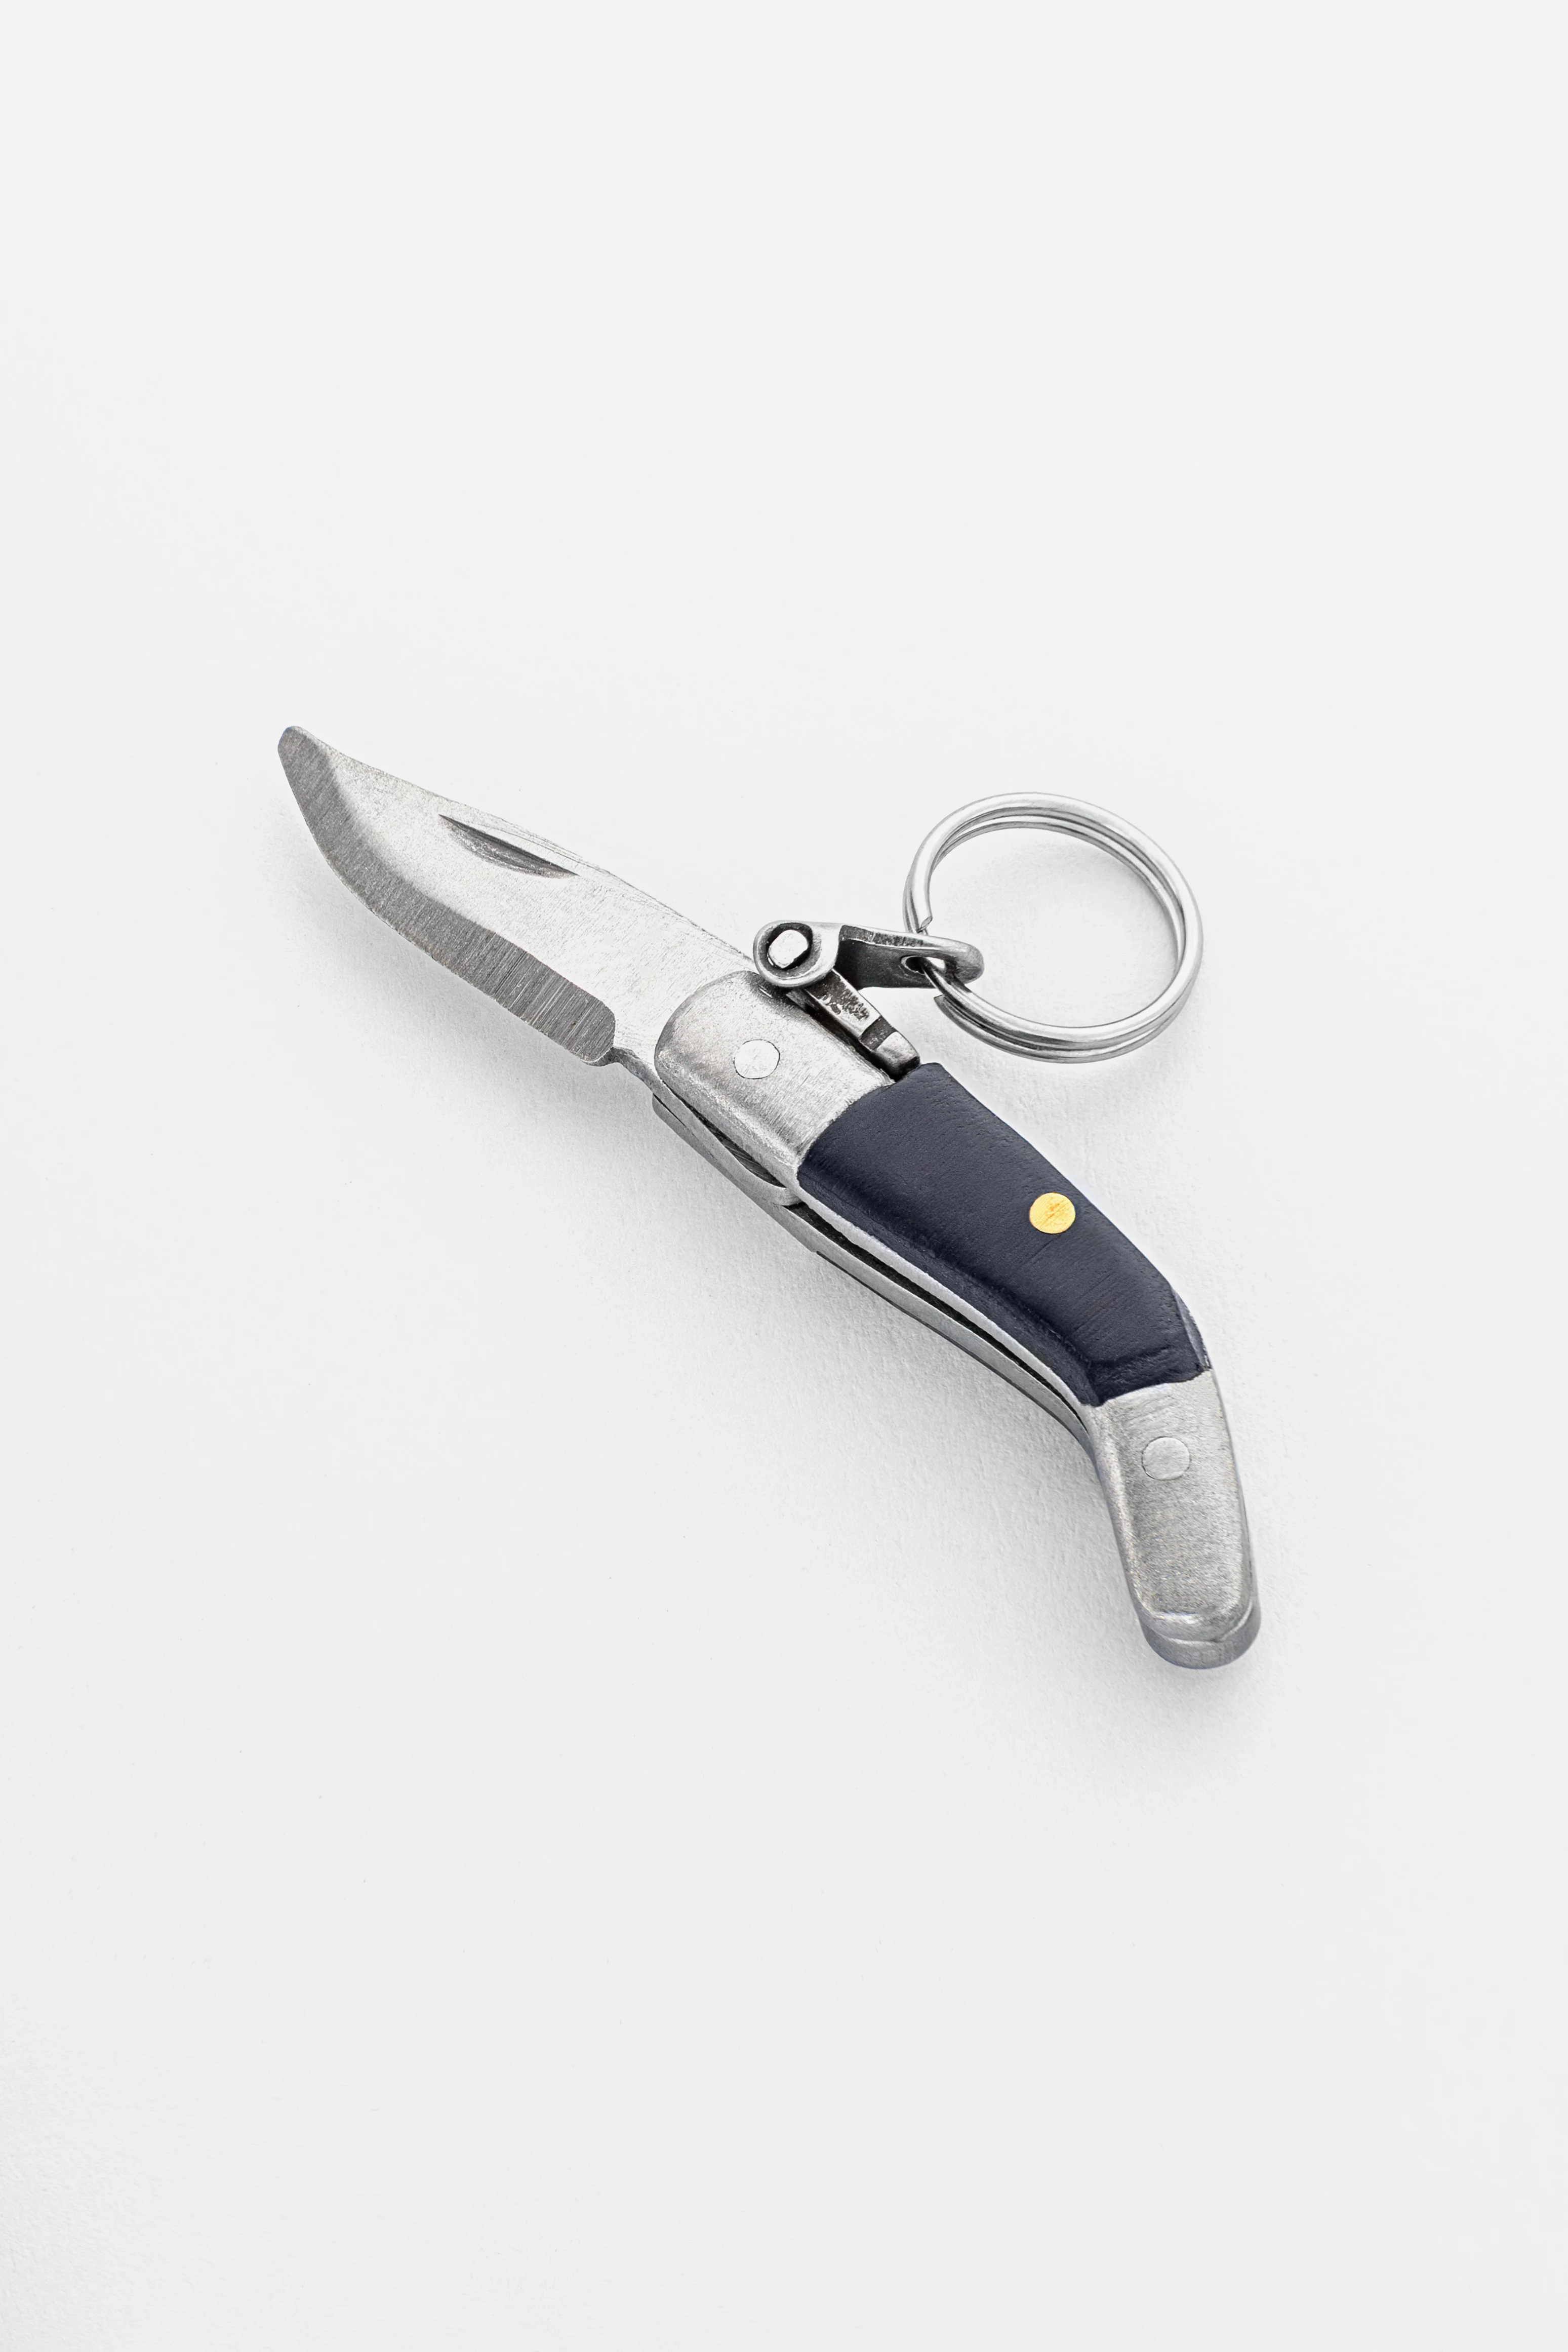
Artisan-crafted CAPAORA navaja pendant
A 40 mm stainless-steel navaja with a real folding mechanism and Palanquilla lock. An affordable gift to remember.
A code for blog readers:
10% off your first order
Authentic · Maker's guarantee · Ships from Spain
What chain repair costs: a sense of scale without direct figures
The cost of repair depends on the metal, the complexity of the work, and the equipment in the particular workshop. To give clear reference points without specific numbers that quickly go out of date, here are everyday comparisons.
The level of two cups of coffee at a cafe. A simple solder of one spot on a silver chain or a clasp change on silver. This is standard quick work done in a day.
The level of lunch out. A clasp change on gold, laser welding of one spot on a silver or gold chain, a repair of the pendant connection.
The level of dinner at a good restaurant. Replacing a small section of chain, soldering several spots, working with a nonstandard weave, restoring the finish after soldering.
The level of a short weekend trip. Complex combined work: replacing a large section of a rare weave, repairing several different spots at once, working with a rare metal or an antique piece.
Factors that raise the cost: moving from silver to gold doubles or triples the price. Thin chains under 1 mm are harder than thick ones. Laser welding costs more than ordinary soldering, but the result is better. Rush work costs more than standard.
Factors that lower the cost: silver instead of gold, one repair spot rather than several, a standard widespread weave, and no urgency.
How to choose a jeweler for chain repair: what to ask and what to watch
Not every workshop handles thin chain repairs equally well. A shop that resizes rings beautifully may have minimal experience with chains. Here is what to clarify in advance.
The first question on the phone or visit: do you have a laser welder. This is not about the prestige of the workshop, it is about the tool the specific job needs. If they do not, ask which soldering method they use for thin chains and why.
Ask to have them look at the chain before discussing price. A good professional examines the piece, explains exactly what is broken, and offers a concrete solution. If they name a price straight away without looking, that is a bad sign.
Clarify what happens to the finish after soldering. If your chain has rhodium plating (white gold often does), an oxidized black finish, or another treatment, soldering destroys it in the heat zone. A good professional includes restoring the finish in the price or warns you it will need a separate operation.
Ask about a guarantee. Standard practice is a guarantee on the quality of the repair of one to three months. The absence of a guarantee is not necessarily a bad sign for a very complex repair, but it is worth asking why.
Notice the order in the workshop and how the professional handles your piece during the inspection. A jeweler who takes a thin chain and starts crushing it between their fingers, making no allowance for its fragility, raises questions.
Leave your email, we'll send your discount code. No spam, unsubscribe anytime.
The code arrives by email, valid on your first order.
What you must never do: common mistakes
A lot of stubborn myths have built up around chain repair, and some of them ruin the piece for good. Here are the most common. Tap each card to see where the truth is and where the myth is.
Super glue and adhesives
Cyanoacrylate glue (super glue) cannot handle the load a chain takes during wear. Even if the joint holds for the first few hours, it comes apart at the first tension. There is an added problem: glue leaves a white film on the metal, seeps into the gaps between links, and creates a contamination you then have to remove chemically or mechanically. Using glue makes any later jewelry repair harder.
Tape and sticky bands
This is acceptable only as a transport solution: holding the ends of the chain together while you carry it to the jeweler. You cannot wear a chain with tape on it. The tape leaves adhesive marks, attracts dust, and does not stand up to the load of wear.
A link from a different metal
A silver 925 chain should not be joined with a copper or brass connector. A gold chain should not be repaired with silver solder or a connector of another metal. The reason: different metals in an electrolytic environment (sweat, moisture, sea water) form a galvanic pair. This speeds up corrosion at the contact point and discolors the metal around the repair.
Home soldering with no prior practice
If you have never worked with a jewelry torch, do not learn on a chain you love. An overheated link cannot be saved: molten metal will not return to the shape of a tube. Practice the technique first on inexpensive material.
Wearing a broken chain "while it still holds"
A cracked link under load breaks sharply and suddenly. The chain drops at the most unpredictable moment: on public transport, at a meeting, in a shop. Loss is almost inevitable. The moment you notice a crack or distortion, take the chain off and set it aside until repair.
Trying to straighten deformed links with no experience
A square link loses strength when it is deformed and re-straightened. The metal at the bend turns brittle. If a link is crushed or twisted, trying to bring back its shape at home will most likely lead to a crack.
Prevention: how to wear, store, and clean a box chain properly
Most box chain breaks can be prevented with correct handling. This is not paranoid caution, it is a few habits that take seconds but add years to the life of the piece.
How to put it on and take it off
Take the chain off with both hands: one holding the clasp, the other supporting the chain at the base of the neck. Do not pull on the middle and do not drag it over your head without unfastening the clasp. Do not toss it onto your neck with a jerk. A box chain dislikes twisting: as you put it on, make sure the chain lies flat without a turn in it.
Storage: what works
A box chain is best stored straightened out and clasped. Storing it crumpled in a heap with other jewelry leads to links catching and knots forming, and untangling creates point load on the joints.
When to take it off
Before sleep: chains catch on bedding when you turn. Before sport and any physical effort: a jerk or sudden movement breaks thin links. Before swimming in a chlorinated pool or the sea: chlorine and salt speed up metal wear, especially in silver. Before applying perfume and cosmetics: their chemical components speed up oxidation.
Periodic preventive inspection
Every two to three months, examine the chain in good side light. Pay special attention to the links at the clasp and at the pendant. Signs that call for an immediate trip to the jeweler: a small crack or break in a link wall, a visibly thinning stretch, a link that stands out from the plane of the chain, a clasp that opens with less effort than usual.
Cleaning: how and why it affects strength
Dirt and oxidation at the joints between links create extra friction. This speeds up wear of the metal where the links touch each other. Regular cleaning removes that abrasive layer and reduces wear.
When repair makes no sense: criteria for deciding
Sometimes the honest answer is this: a new chain is cheaper and the right choice. Here is when that is so.
General even wear across the whole chain. If the chain has lost its even thickness along its full length, after one spot is repaired it will break elsewhere within a few months. The metal can no longer be brought back to its original strength.
Five or more break or deformation points. With that many failures the repair cost approaches the price of a new chain in a similar weave, and the result is still worse than a new piece.
A very thin chain with critical wear. Box chains under 1 mm with severely thinned walls are technically hard to restore: there is too little metal for a reliable joint.
No sentimental value paired with a high repair cost. If the chain holds no memory for you and the repair costs as much as a new one, it is wiser to choose a new one with a manufacturer's guarantee.
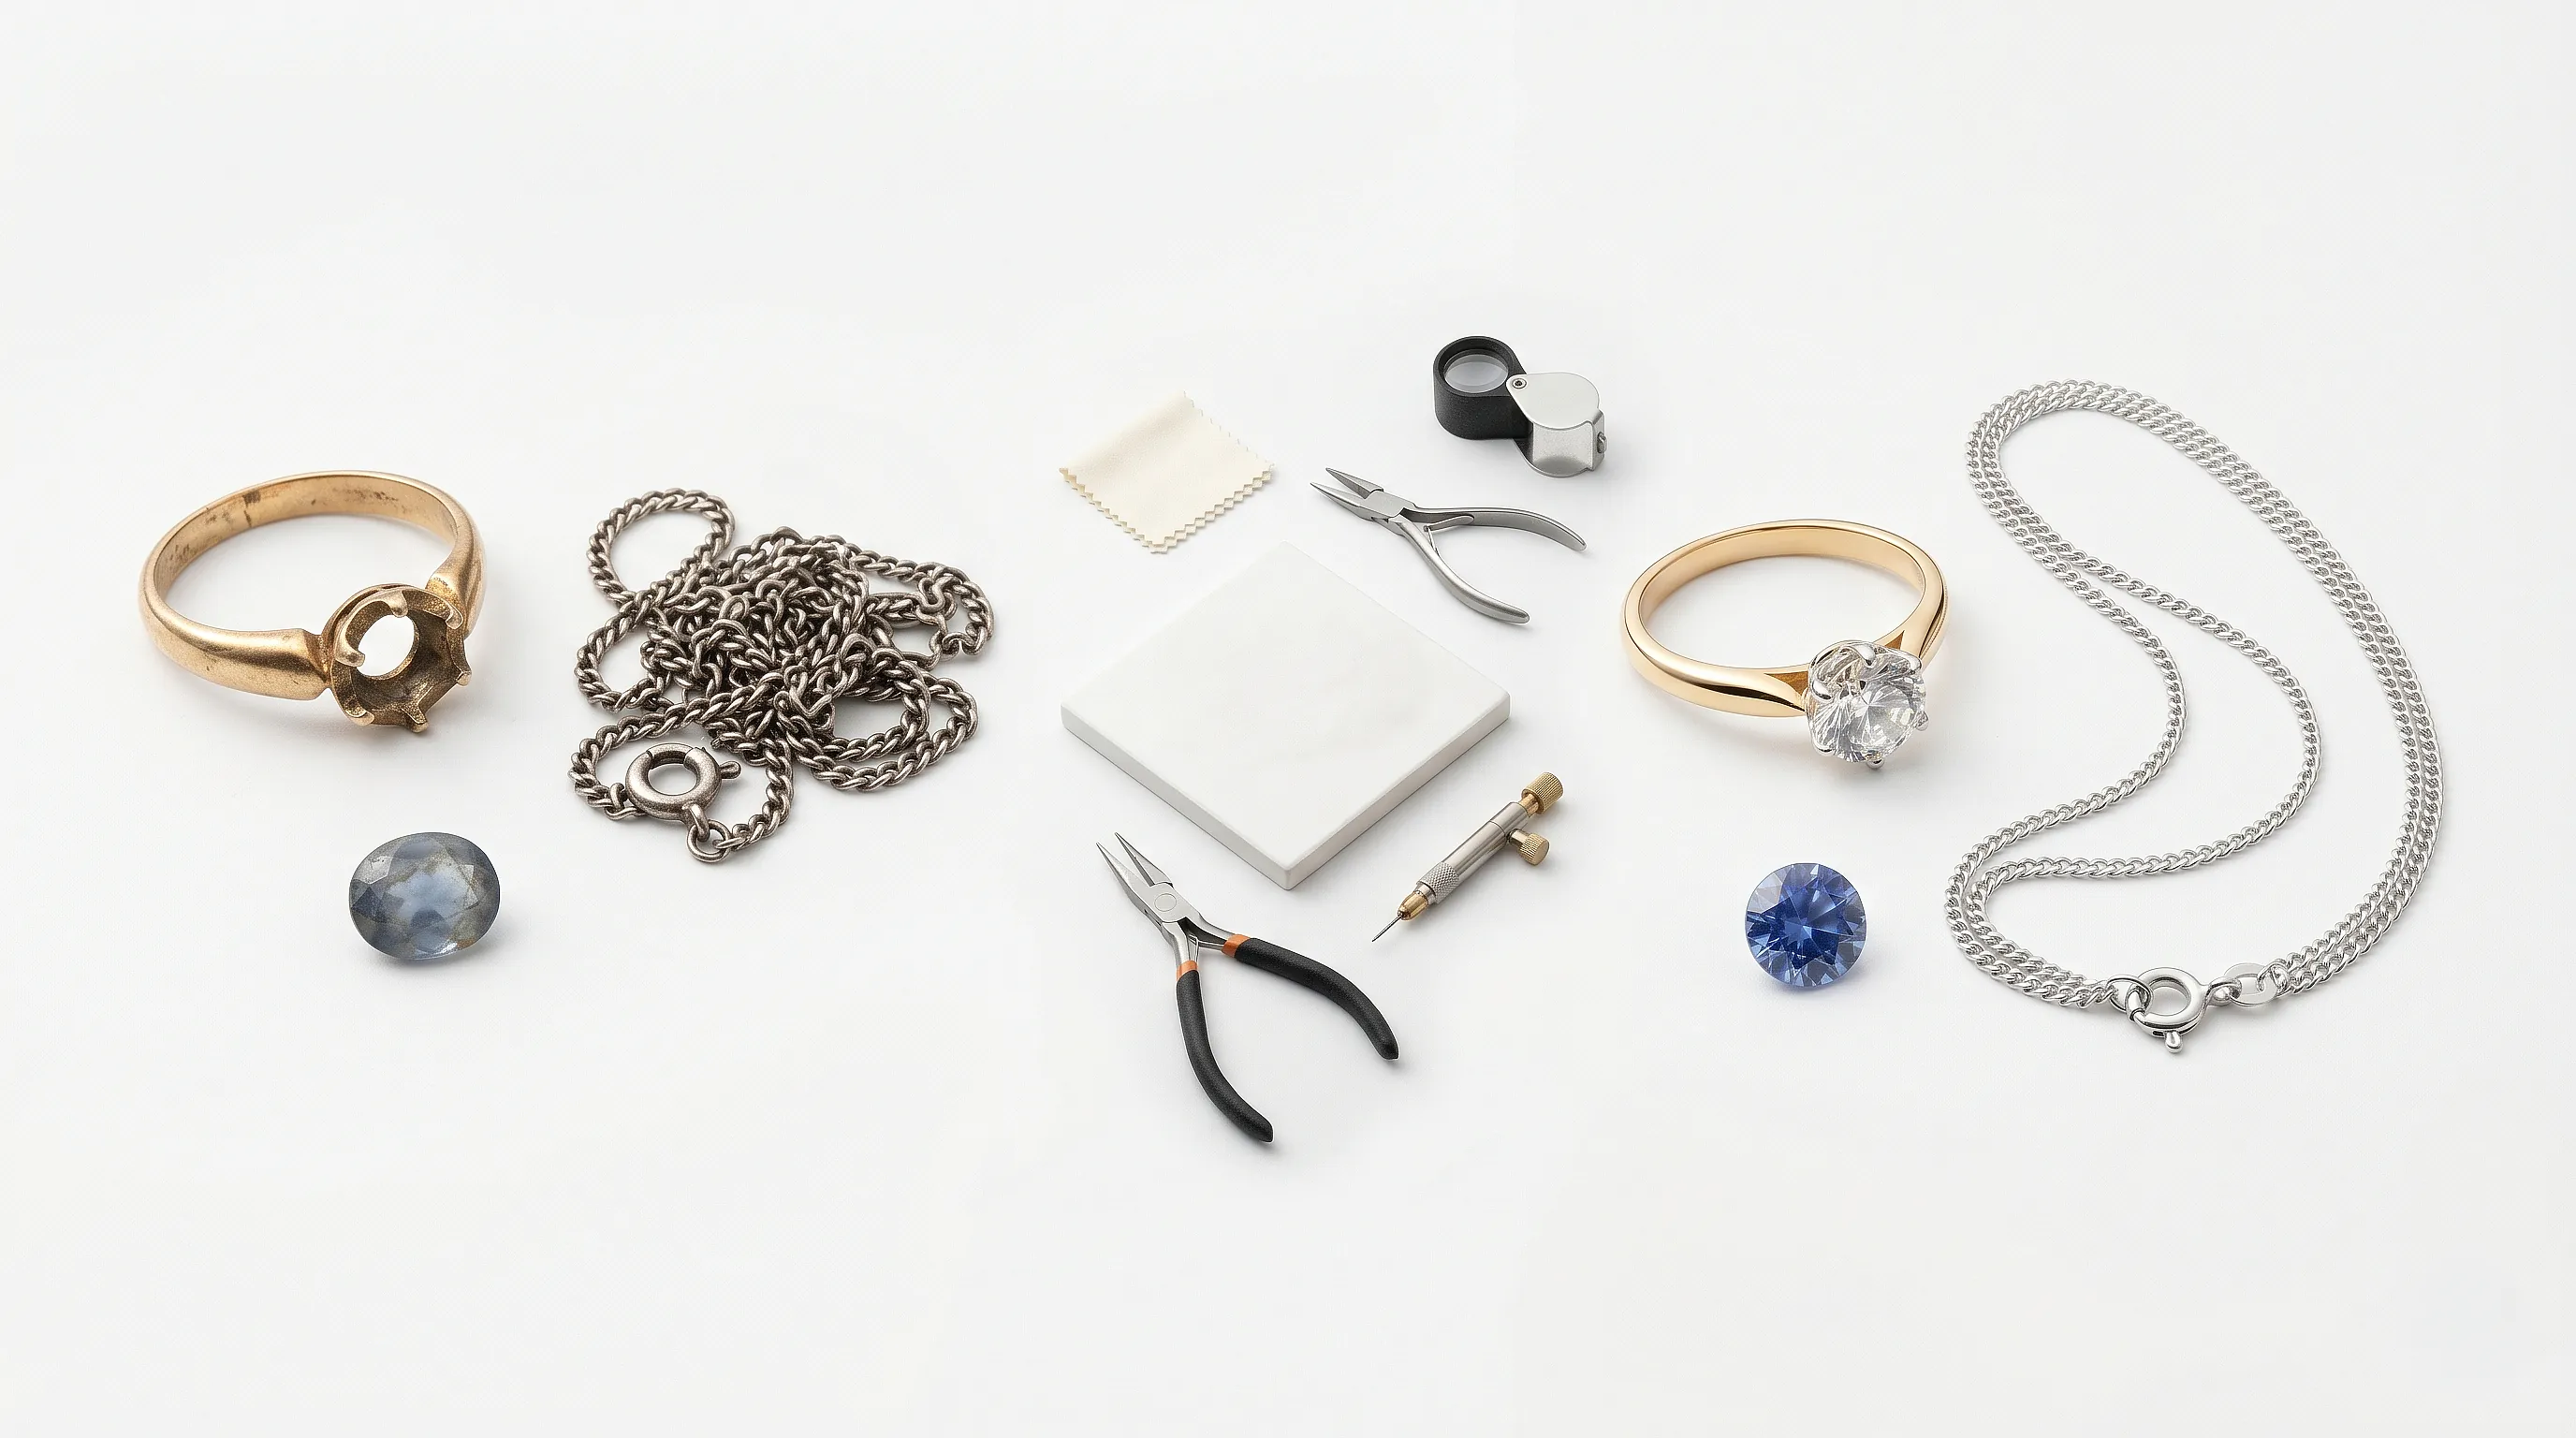
That said, if the chain has a history, came from someone close, or is made of a rare material, repair is always preferable, even when it costs more than an equivalent in a shop. And when a piece is too worn to restore but you want to keep the memory of the person, there is another path: the stone or metal can be reworked into a new piece of jewelry, and the thing goes on living in another form.
Silver versus gold: is there a difference in repair
The metal of the chain affects the repair in several ways. Understanding these differences helps you frame the job correctly when you hand the piece in.
Silver 925
Silver 925 (sterling) contains 92.5% silver and 7.5% other metals, most often copper. Copper is added for strength, because pure silver is very soft. Silver 925 is soldered at a temperature between 700 and 800 degrees Celsius depending on the solder used.
Repairing silver chains is more affordable and simpler technically. Silver conducts heat well, so during soldering it is important to control the heating of the neighboring links. Silver solders come in several grades with different melting points, which lets the professional work in stages without the risk of melting joints already made.
One feature of silver: after soldering it can darken in the heat zone. This oxidation is removed in a pickle (diluted acid) and then polished out. In a good workshop this is a standard part of the repair process.
Gold 585 and 750
Gold 585 contains 58.5% gold, the rest is alloy. Gold 750 contains 75% gold. The higher the purity, the softer the metal and the lower its strength. Yellow gold 585 contains copper and silver, white gold is alloyed with palladium or other white metals.
Repairing gold chains needs solder of the matching purity and color. You cannot solder gold 585 with silver solder: the joint will be white against the yellow. Done right, the joint matches the original metal in color.
White gold often loses its rhodium plating in the heat zone after soldering. The rhodium is restored through electroplating. A good professional warns you of this in advance and includes restoring the finish in the cost of the work.
Stainless steel and titanium chains
Stainless steel and titanium are soldered differently. Stainless needs a special flux and a different temperature regime. Titanium is generally hard to solder by ordinary jewelry methods: it tends to contaminate the joint when heated in open air and often needs argon shielding.
For such chains laser welding is often used: it minimizes the heat-affected zone and gives a clean joint with no side reactions. If your chain is stainless steel or titanium, ask the professional in advance whether they have experience with these metals.
Special cases: vintage, antique, and nonstandard chains
Chains with a history and high sentimental value
If the chain came to you from someone close or has significant historical value, the approach to repair changes. Here it is important to choose a jeweler with experience in antique pieces rather than the nearest workshop with a "watch and jewelry repair" sign.
Antique chains were often made by hand with techniques unlike modern stamped pieces. The alloy composition can differ from standard modern grades. Before soldering, a good professional tests the metal to choose a compatible solder. The same principles of careful handling apply to other inherited pieces: in a separate piece we cover restoring old jewelry and how to preserve the marks of time without losing the strength of the piece.
Sometimes it is right to do only the minimum necessary repair and leave the marks of time as part of the piece's history, rather than trying to return the chain to a "like new" state.
Chains of nonstandard width or weave
Standard chain stocks in workshops cover widths from 1 to 4 mm in the most common weaves. If you have a wide decorative chain, a rare weave, or a nonstandard link size, finding the exact material to replace a section is harder.
In that case the jeweler may offer two options: make the closest possible match from available stock, or make the chain section to order. The second option costs more but gives a better result for complex pieces.
How to diagnose the break yourself: a step-by-step inspection
Before taking the chain to a jeweler, it is worth working out for yourself exactly what happened. This helps both in talking to the professional and in judging what they say.
Prepare for the inspection: good light (daylight or a bright lamp), a loupe at 5 to 10 times magnification (sold in any camera shop or ordered online), and a dark surface under the chain for contrast.
First stage: a general look. Lay the chain out flat on a dark surface. See whether any stretches have links standing out of the plane, looking different from the rest, or with an altered color.
Second stage: inspecting the risk zones. Pay special attention to the two or three links at the clasp on each side, the pair of links at the pendant attachment, and any stretch where the chain regularly bent.
Third stage: inspecting the clasp itself. Open and close the clasp several times. It should close with a distinct click and not open under light pressure. Pull on the clasp with moderate force while closed: a reliable clasp gives no movement.
Fourth stage: describing your findings for the jeweler. After the inspection, describe or photograph everything you found. A good description of the break saves time at the counter and helps the professional prepare the materials in advance. If you know the metal composition (a hallmark on the clasp or in the paperwork for the piece), say so when you hand it in.
A box chain wants a bare collarbone, not a polo collar. Hang an anvil off a thread and it snaps in a week - serves you right.
How to wear a box chain
I have put box chains through dozens of shoots. The flat facets catch light more evenly than twisted links, so a box chain likes a clear neck and few neighbours. Here is what actually works, by occasion.
How do I wear a box chain every day? For an everyday look I recommend a 1.5-2 mm chain on bare skin over a plain tee or shirt. The smooth facet reads on its own, with no pendant. A light top lifts the metal, a dark one turns the chain into the accent.
What length suits which neckline? With a V-neck I suggest 45-50 cm so the chain sits right in the open zone. With a high, closed neckline I choose shorter, 40-45 cm, so the weave rests on the collarbone instead of hiding under fabric.
How do I wear it with a pendant without breaking it? A heavy pendant goes only on a chain from 2 mm up; I never hang weight on a thin one. For a light charm 1.5 mm is enough. One pendant centred always reads better than a cluster on different lengths.
Can I layer it? You can, but the box chain holds the base line. I recommend adding finer twisted chains to it; a contrast of texture reads better than two identical facets side by side. I space the lengths 3-5 cm apart so the links do not rub.
Silver or gold for my skin tone? A warm undertone takes yellow gold or steel with a gold finish. A cool one suits silver or plain steel. For a sharp look I choose a narrower chain, for going out you can go wider.

Turn on your camera, pick earrings, a pendant or a ring, and see the piece on yourself in real time.
Switch items in one tap.
Everything runs in your browser: no photo or video is ever uploaded.
Send a friend a discount code, they save on their first order.
FAQ: the questions people ask most
Can I repair a box chain without soldering?
It depends on the break. If the clasp or a jump ring has failed, no soldering is needed: the parts are replaced mechanically. If the chain link itself has broken, there is no way around soldering. A temporary connector at the break will get you to the jeweler, but it is not a full repair for ongoing wear.
How long does repair at a jeweler take?
A simple repair of one spot (a solder, a clasp change) takes from a few hours to a day. A complex repair with a section replaced or several break points takes one to three days. If the workshop is busy, it can be longer. Confirm the timing when you hand it in.
Does the metal of the chain affect the method and cost of repair?
Yes, significantly. Silver is soldered at a lower temperature and costs less to work. Gold 585 and 750 need different solder and more precision. White gold often needs the rhodium plating reapplied on the joint after soldering. Stainless steel and titanium are soldered differently and need special equipment. Before you hand it in, tell the professional the exact metal if you know it.
Will the repair spot darken over time?
With laser welding and properly matched solder, no. The joint matches the base metal in composition and behaves the same way. With a poor repair using incompatible solder, the joint can darken faster because of the difference in chemical composition.
Can you solder a chain with an oxidized black finish or rhodium plating?
Soldering destroys the decorative finish in the heat zone. After the repair that spot needs the finish restored. In a good workshop this is done as part of the repair. Ask about it in advance, so it is included in the cost and you do not get the chain back with a patch of light metal at the joint.
Why does the chain break again in the same place after repair?
Two reasons are possible. First: the repair was done poorly and the joint is weak. Second: there is a structural load at that spot the repair did not remove. For example, a heavy pendant presses constantly on exactly that link, or the chain chronically bends at that point with a certain way of wearing it. Try changing the way the pendant attaches or the load point.
How can I tell the repair was done well while still at the workshop?
Ask to see the repaired spot in good light. The joint should be smooth, with no blobs, no visible pores or voids. The color at the joint should match the rest of the chain. Ask them to gently pull the chain with moderate force on both sides of the joint. A reliable joint gives no movement or gap. If anything raises a doubt, say so before you take the piece away.
Is it worth insuring an expensive chain?
If the chain is worth a significant sum or holds sentimental value, insuring jewelry makes sense. Some policies cover accidental damage and loss. Check the terms of the specific coverage with your insurer.
The chain is repaired: what to do next
After a successful repair it makes sense to do a small reset in your relationship with the piece.
First, check how comfortable the clasp is to work with. If over years of wear you got used to a stiff or, the other way, too loose a clasp, use the moment and ask the jeweler to fit a clasp with an opening force that suits you.
Second, weigh the pendant against the thickness of the chain. If the pendant is heavy and the chain is thin, that combination puts extra load on the attachment link. After a repair is a good time to think about a denser chain or a different way of attaching the pendant.
Third, photograph the chain from several angles and note exactly what was repaired, at which workshop, and when. At the next inspection that helps you judge how the repaired spot is behaving relative to the rest of the chain.
A good box chain, well cared for, lasts a very long time. Many pieces pass down through generations, and a timely repair is part of that story. Every joint made by a good professional is evidence that the piece was valued and looked after, rather than used to total wear and thrown away. That is exactly how things acquire character.
Conclusion
A box chain breaks predictably: at the clasp, at the pendant, at the spots of years of bending. Most breaks can be repaired with the right approach and an honest read of the situation.
The clasp and the jump ring can be changed at home in a few minutes with two pliers. A cracked link, a worn stretch, or any soldering needs a jeweler with the right equipment. For thin box chains the best fit is a professional with a laser welder.
A well-made repair is invisible and reliable. A poor repair recurs within a month in the same place. The difference between them comes down to whether the right tool was used and whether the break was diagnosed correctly.
The main rule is simple: do not wear a broken chain. The moment you notice a crack, a separated link, or a weak spot, take it off and bring it to a professional. Better one trip to the workshop than a lost piece on the street.
Sturdy chains in different weaves and dependable clasps that last for years and are easy to service.
About Zevira
Zevira makes jewellery by hand in Albacete, Spain. We know where chains break and why, so we build ours with dependable clasps and weaves that hold up to everyday wear.
Here is what you will find with us for chains:
- chains in different weaves, including box chain, anchor, and curb link
- sturdy lobster clasps and proven closures made for daily wear
- chains in various thicknesses for light and heavier pendants
- pendants and charms with a strong attachment bail
- jump rings and fittings matched to the metal of your piece
- pieces in sterling silver 925 and gold that any jeweller can service with ease
Every piece is made by hand by a craftsperson, with the option of personal engraving. Sterling silver 925 and 14-18K gold.