How to Untangle a Necklace Chain and Store It So It Never Knots Again
Ten Minutes Every Morning on One Knot
You are running late. You grab a chain from the jewellery box. It is in a knot. You pull. The knot tightens. You try with your fingernails. It slips. You put it back, reach for another. That one is knotted too. Because they were lying together.
Sound familiar? A tangled chain is the number one daily problem with jewellery. Not tarnishing, not allergies, not losing pieces. A knot that eats ten minutes of a morning when those minutes do not exist.
This guide covers two things: how to untangle (quickly), and how to store (so it never tangles again). Plus the physics of why it happens, because knowing the enemy helps you beat it.
How to Untangle: Step by Step
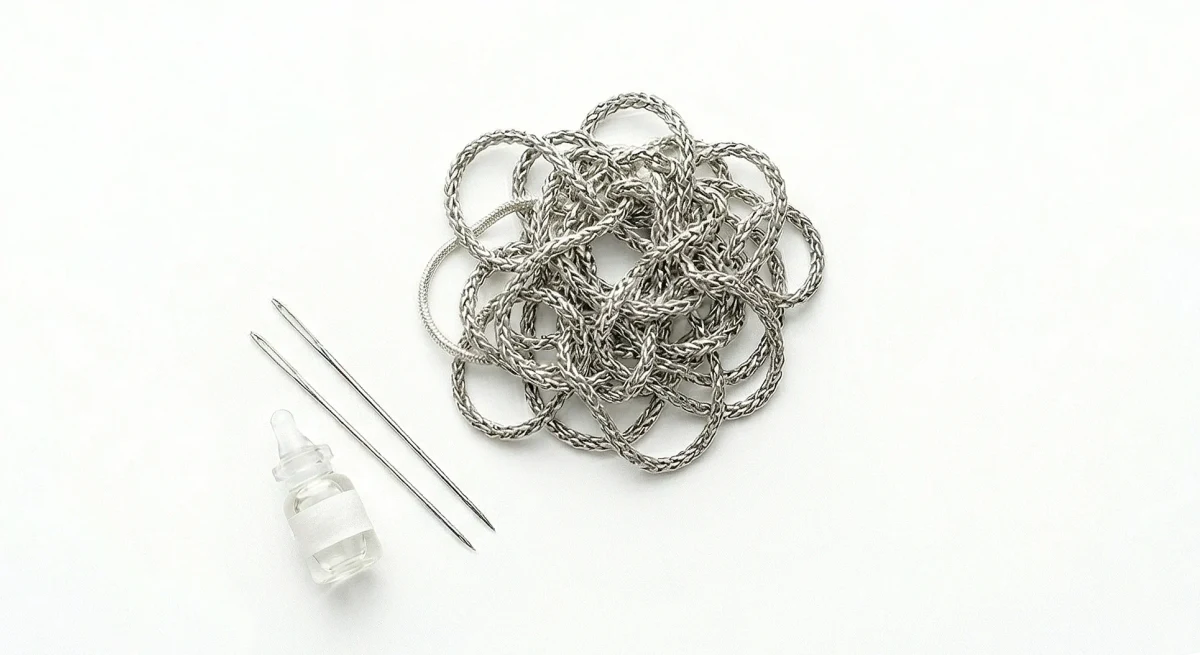
Method 1: Oil (for tight knots)
You need: a drop of olive oil, baby oil, or liquid soap. Two needles or pins. A flat surface.
- Lay the chain on a flat, hard surface (a table, a plate, a countertop). Not on your palm. Your hand is soft and gives no support.
- Drop oil on the knot. One drop. Wait 30 seconds for the oil to seep between the links.
- Take two needles. Insert both into the centre of the knot. Slowly push them apart, pulling in opposite directions. Do not pull the chain by its ends. That tightens the knot.
- When the knot loosens, pull the loops out one at a time. Do not yank. Slowly.
- Wash the chain with soap to remove the oil. Dry with a soft cloth.
Why it works. Oil reduces friction between links. Without oil, metal catches on metal. With oil, it slides. The coefficient of friction drops dramatically, and what was a locked knot becomes a loose tangle.
Which oil is best? Baby oil is ideal: light, odourless after washing, will not stain. Olive oil works but is slightly viscous. Coconut oil can solidify if your hands are cool. In a pinch, hand cream or lip balm will do.
Method 2: Baby powder (for medium knots)
Sprinkle talcum powder or baby powder on the knot. The powder gets between the links and works as a dry lubricant, reducing friction without any liquid. Then use needles, as in Method 1.
Bonus: no washing needed afterwards. Just brush off the powder. This is the best method if you are in a hurry and do not want to deal with cleaning.
Method 3: Patience and fingertips (for loose knots)
Lay the chain on a table. Spread it out as far as possible. Find the knot. Do not pull the ends. Instead, find the loop inside the knot, the loop through which the chain passed. Pull that loop out. The knot will come undone.
The key: never pull the ends. Pulling equals tightening. Loosening plus pulling loops equals untangling.
This method works on loose knots, the kind where you can still see daylight through the tangle. For tight knots where the links are compressed together, go to Method 1.
Method 4: Water (for chains with tiny links)
Submerge the knot in a glass of warm water. Surface tension slightly loosens the knot, and the water acts as a mild lubricant. After a minute, take it out and work with needles. Good for snake chains, which lock up when dry.
The water method also works when you want to avoid leaving any residue. After soaking, the links are easier to separate with needles, and no post-cleaning is required beyond a quick pat-dry with a cloth.
Method 5: Windex or glass cleaner
A less-known trick from professional jewellers. Spray glass cleaner on the knot. The ammonia and surfactants in the formula reduce friction quickly without leaving an oily residue. Work with needles as normal. Rinse afterwards.
Knot severity: how to assess before you start
Before choosing a method, press gently on the knot with one fingertip. A loose knot yields slightly and you can feel individual loops. A medium knot feels firm but not rigid. A dead knot feels like a solid ball with no give at all.
Loose: Method 3 (fingertips alone). Medium: Method 2 (powder) or Method 4 (water). Tight: Method 1 (oil) or Method 5 (glass cleaner). Dead: oil first for 2 minutes, then work very slowly with two needles, never two hands pulling.
What Not to Do
Do not pull the ends. The most common mistake. Pulling turns a loose knot into a tight knot. And a tight knot into a dead knot.
Do not use pliers. Chain metal is softer than pliers. Scratches, deformed links, broken jump rings. Pliers are for hardware, not jewellery.
Do not yank in frustration. If you feel angry, put it down. Come back in five minutes. The knot will wait. Anger plus jewellery equals broken jewellery.
Do not use a toothpick. Too thick for most chain links and snaps easily, leaving splinters inside the knot. Sewing needles or very fine pins are better.
Do not work on a soft surface. A blanket or towel absorbs pressure, meaning your needles cannot generate enough force to push links apart. Hard table, ceramic plate, or glass surface only.
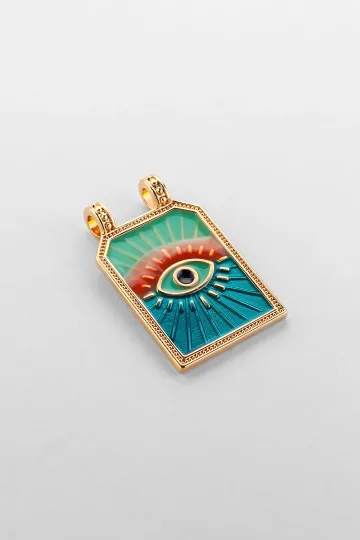
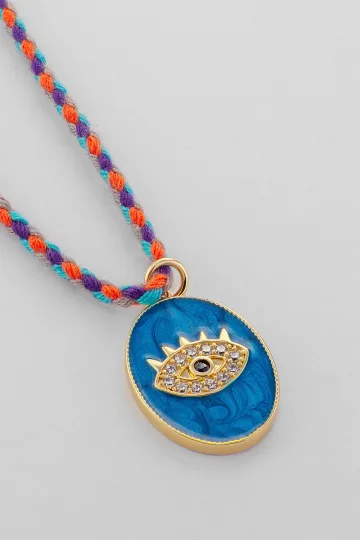
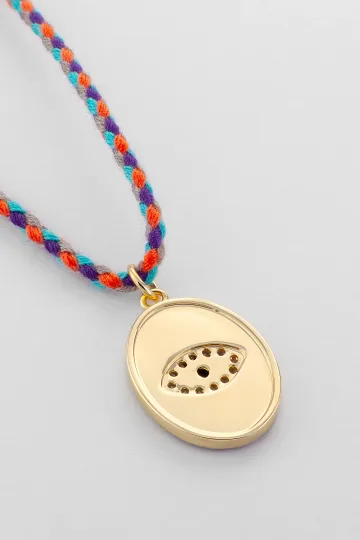
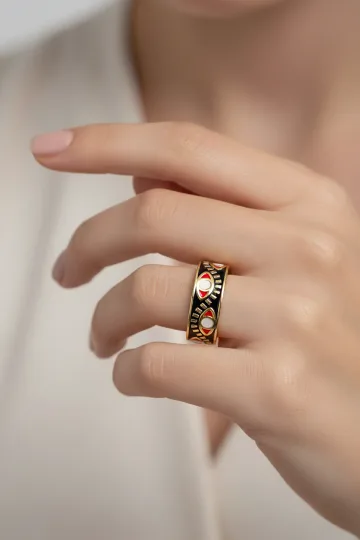
Wear the symbol, don't just read about it. These are in stock:


Why Chains Tangle: The Physics
This is not your fault and it is not a defect. It is physics, proved mathematically.
In 2007, physicists Dorian Raymer and Douglas Smith at UC San Diego published a paper called "Spontaneous Knotting of an Agitated String" in the Proceedings of the National Academy of Sciences. They put strings of various lengths in a box, tumbled the box, and counted knots. The result: any string longer than 46 cm (about 18 inches) forms knots when agitated. The probability of knots increases with length and tumbling time.
The key finding: knotting is not random. It follows mathematical rules. With enough agitation, the free ends of a string thread through loops formed by the rest of the string. Once a free end passes through a loop, you have a knot. The longer the string, the more loops form, and the higher the probability of threading.
A chain is functionally identical to a string for knotting purposes. Longer than 18 inches, sitting in a box that you move, open, and close every day. Every movement is a small "shake." Knotting is a matter of time, not a matter of care.
The physicists also found that confinement matters. A string in a tight box tangles faster than a string in a loose box, because in a tight space, the string is forced into more loops. Translation: a crowded jewellery box tangles chains faster than a spacious one.
The implication for storage: prevent free ends from threading through loops. That means either immobilising the chain (hanging it straight) or enclosing it so tightly that loops cannot form (a straw, a zip-lock bag).
The role of the clasp in knotting
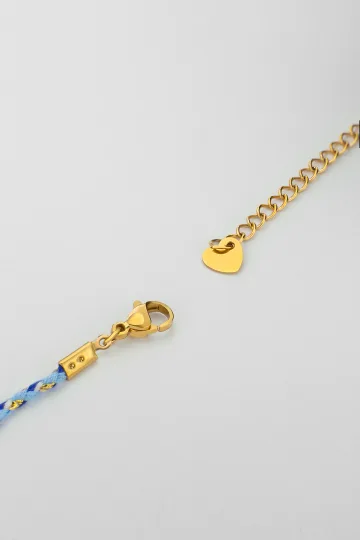
The clasp is an underappreciated villain. An open lobster clasp is a small hook. When the chain moves inside a box, this hook threads through any link it encounters, exactly as a needle threads through fabric. One threaded link equals one knot, and you did not even touch the chain.
The fix is trivial: always close the clasp before storing. One second. That single habit eliminates a large proportion of knots before they start.
Spring ring clasps behave similarly. Toggle clasps (a bar through a ring) are better because the bar is too wide to pass through most chain links, but they still require closing before storage.
Which chains tangle more
Thin (under 1.5 mm): more flexibility means more loops, means more knots. A 1 mm cable chain is the tangling champion.
Long (over 50 cm / 20 inches): mathematically, more length means exponentially higher probability of knotting.
Snake chain: smooth surface plus extreme flexibility makes it the worst offender. A snake chain in a drawer will tangle within days.
Fine link chains: links catch on each other, and tiny links are harder to untangle because the knot is compressed into a smaller area.
Which chains tangle less
Thick (2.5 mm and above): stiffness prevents loop formation. A 3 mm figaro chain barely bends enough to tangle.
Short (under 40 cm / 16 inches): physically not enough length to form the loops needed for a knot.
Bismarck weave: rigid construction, barely bends. Almost impossible to tangle.
Leather or rubber cord: no links to catch on each other. Smooth surface, high stiffness relative to length.
Box chain: the square cross-section resists bending, making it one of the most tangle-resistant chain types.
How to Store: Ten Methods That Work
1. Individual hooks on a wall or inside a wardrobe
Each chain hangs separately, vertically, under its own weight. Not touching its neighbours. Gravity is doing the anti-tangle work for you.
Pros: you can see your whole collection, easy to choose in the morning, chains physically cannot tangle (nothing to tangle with, they are separated, and gravity keeps them straight).
Cons: dust. Chains on an open wall gather dust within a week. Solution: hooks inside a wardrobe or behind a closing panel. Adhesive hook strips cost almost nothing and stick to wood, metal, or painted walls.
DIY. A strip of wood plus small brass nails every 4 cm. Five minutes, nearly zero cost. Or buy a ready-made organiser. The cork strip versions sold at craft shops are cheap and work well.
How many hooks do you need? One per chain, no sharing. Two chains on one hook will tangle within a week once they start sliding against each other.
2. The drinking straw method
A hack that went viral on Pinterest and actually works. Thread the chain through a plastic or paper straw. Fasten the clasp outside the straw. The chain inside the tube cannot form a loop, and without a loop, no knot is possible.
Pros: brilliant for travel. Flat, light, takes up no space.
Cons: does not work for thick chains (they will not fit through the straw). The pendant stays outside. For a pendant chain, thread the chain through the straw and leave the pendant hanging off one end.
Upgrade: for longer necklaces, use a paper towel roll instead of a straw. Same principle, bigger tube.
3. Individual zip-lock bags
Each chain in its own small zip-lock bag. Sealed. Inside the bag there is no room for the chain to move freely, and no air movement to agitate it.
Pros: cheap, effective, compact, waterproof. For travel, this is the winner. Bonus for silver: no contact with air means it does not tarnish as fast.
Cons: not elegant. But functional beats pretty when the alternative is ten minutes of knot-picking every morning.
Anti-tarnish upgrade: drop a small anti-tarnish strip into each bag. These absorb the gases that cause silver to discolour and extend the time between cleanings from weeks to months. Available at jewellery supply shops and online.
4. Compartment organiser
A jewellery box with dividers. Each chain in its own compartment. Not touching its neighbours. The lid does not press down (compartments are deep enough).
What to look for: compartments should be longer than the chain when folded. If a 50 cm chain folds to 25 cm, the compartment needs to be at least 25 cm. If shorter, the chain crumples and tangles inside its own compartment. Paradoxically, a beautiful jewellery box with small compartments tangles chains faster than a cheap plastic box with big ones.
5. Cork holder
Wine corks plus pins. Push a pin into a cork, hang a chain on the pin. Several corks in a row make a storage stand. DIY aesthetics, works perfectly. If you drink wine, the raw material is free. If you do not drink wine, craft shops sell corks.
6. Jewellery tray
A flat tray with a velvet or fabric lining. Chains laid out at full length, not folded. Suitable for the two or three daily chains you wear every day: take it off in the evening, lay it on the tray, grab it in the morning.
Cons: open, gathers dust. For a "working" set of daily wear, not for long-term storage.
7. The toilet paper roll organiser
Save several cardboard toilet paper rolls. Cut slits along the top edge. Thread each chain through a slit and fasten the clasp. The roll holds the chain in place, separated from others. Stack the rolls in a drawer. Free, effective, oddly satisfying.
8. Command hooks behind a door
Adhesive command hooks (the removable kind) on the inside of a wardrobe door or behind a bedroom door. Each hook holds one chain. The chains hang straight and are protected from dust by the closed door. No holes in walls, easy to reposition.
9. Ice cube tray
A silicone or plastic ice cube tray. Each compartment holds one chain, coiled loosely. Drop the chain in, close the lid if there is one, put it in a drawer. Cheap, available everywhere, and the compartments are the right size for most chains.
10. Keep each chain with its pendant as one unit
Do not remove the pendant from the chain. Do not disassemble the set. One chain plus one pendant equals one storage unit. Hung on a hook: done. In the morning, take the set off the hook and put it on. No assembly required, no matching, no fumbling.
Customer reviews
Zevira is a real jewellery shop. Genuine payments, deliveries and customer thank-yous.
🥰🥰🥰 gracias
Ok, ¡gracias! 🙂
Chain-Specific Storage: What Each Type Needs
Not all chains accept the same storage logic. A method that works for a cable chain can destroy a snake chain.
Snake chain storage
A snake chain stored lying in any container will tangle and deform. The links deform under pressure from neighbouring links, and even a single tight knot leaves a permanent bend. The only reliable storage is vertical hanging, with the clasp closed, in its own space touching nothing else. If you own a snake chain and a jewellery box, the snake chain does not go in the box.
Cable and anchor chain storage
These are the most forgiving. They tolerate zip-lock bags, compartments, and even short-term straw storage. The links interlock less aggressively than snake chain links. Still, separate each one. A zip-lock bag per cable chain is sufficient.
Bismarck and box chain storage
Wide, rigid chains do not easily fit through straws, but they also need the least protection because they barely tangle. A compartment organiser with compartments wide enough to accommodate the chain's width is ideal. Never force a wide chain into a narrow slot.
Figaro and curb chain storage
These flat-link chains store well in compartments or zip-lock bags. Their flat geometry means they lie naturally without forming tight loops. They are among the easiest chains to store correctly.
Very fine chains (under 0.8 mm)
These need extra care. They tangle the most severely because the loops they form are tiny and the links are too small to work with standard sewing needles. For these: dedicated storage in a single straw or a small zip-lock, never combined with other chains, and a fine beading needle for untangling if needed (standard sewing needles are too thick).
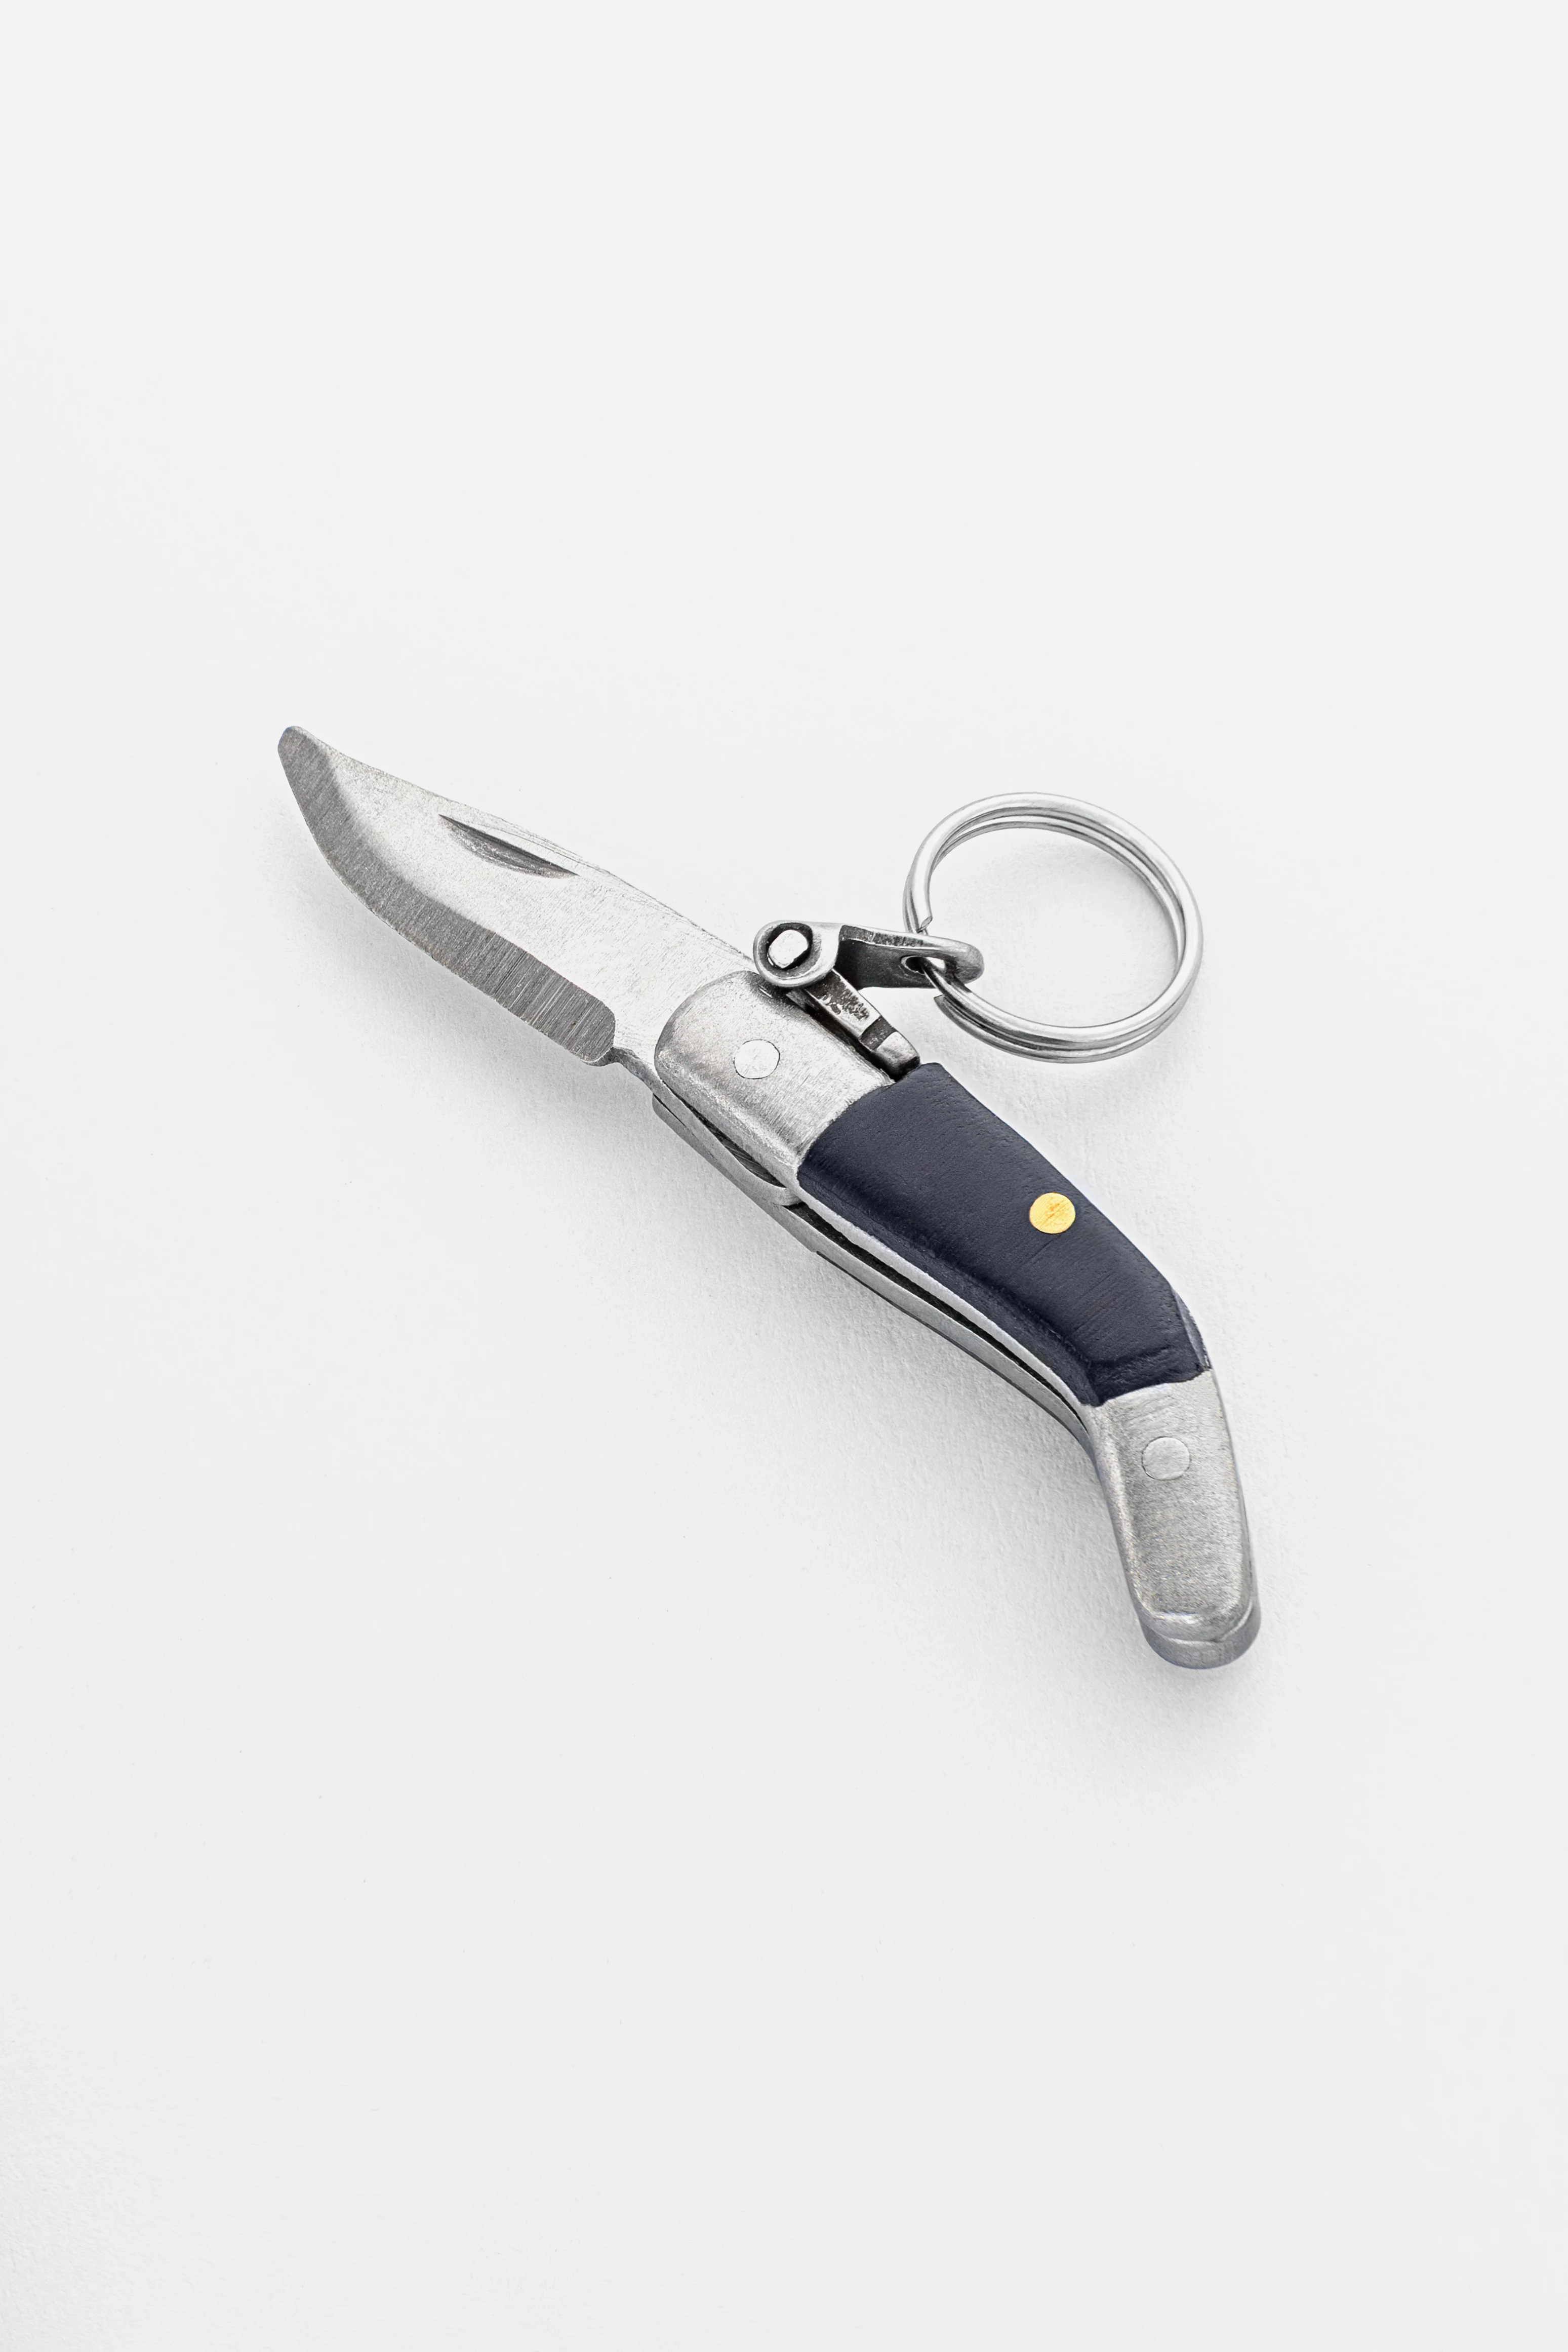
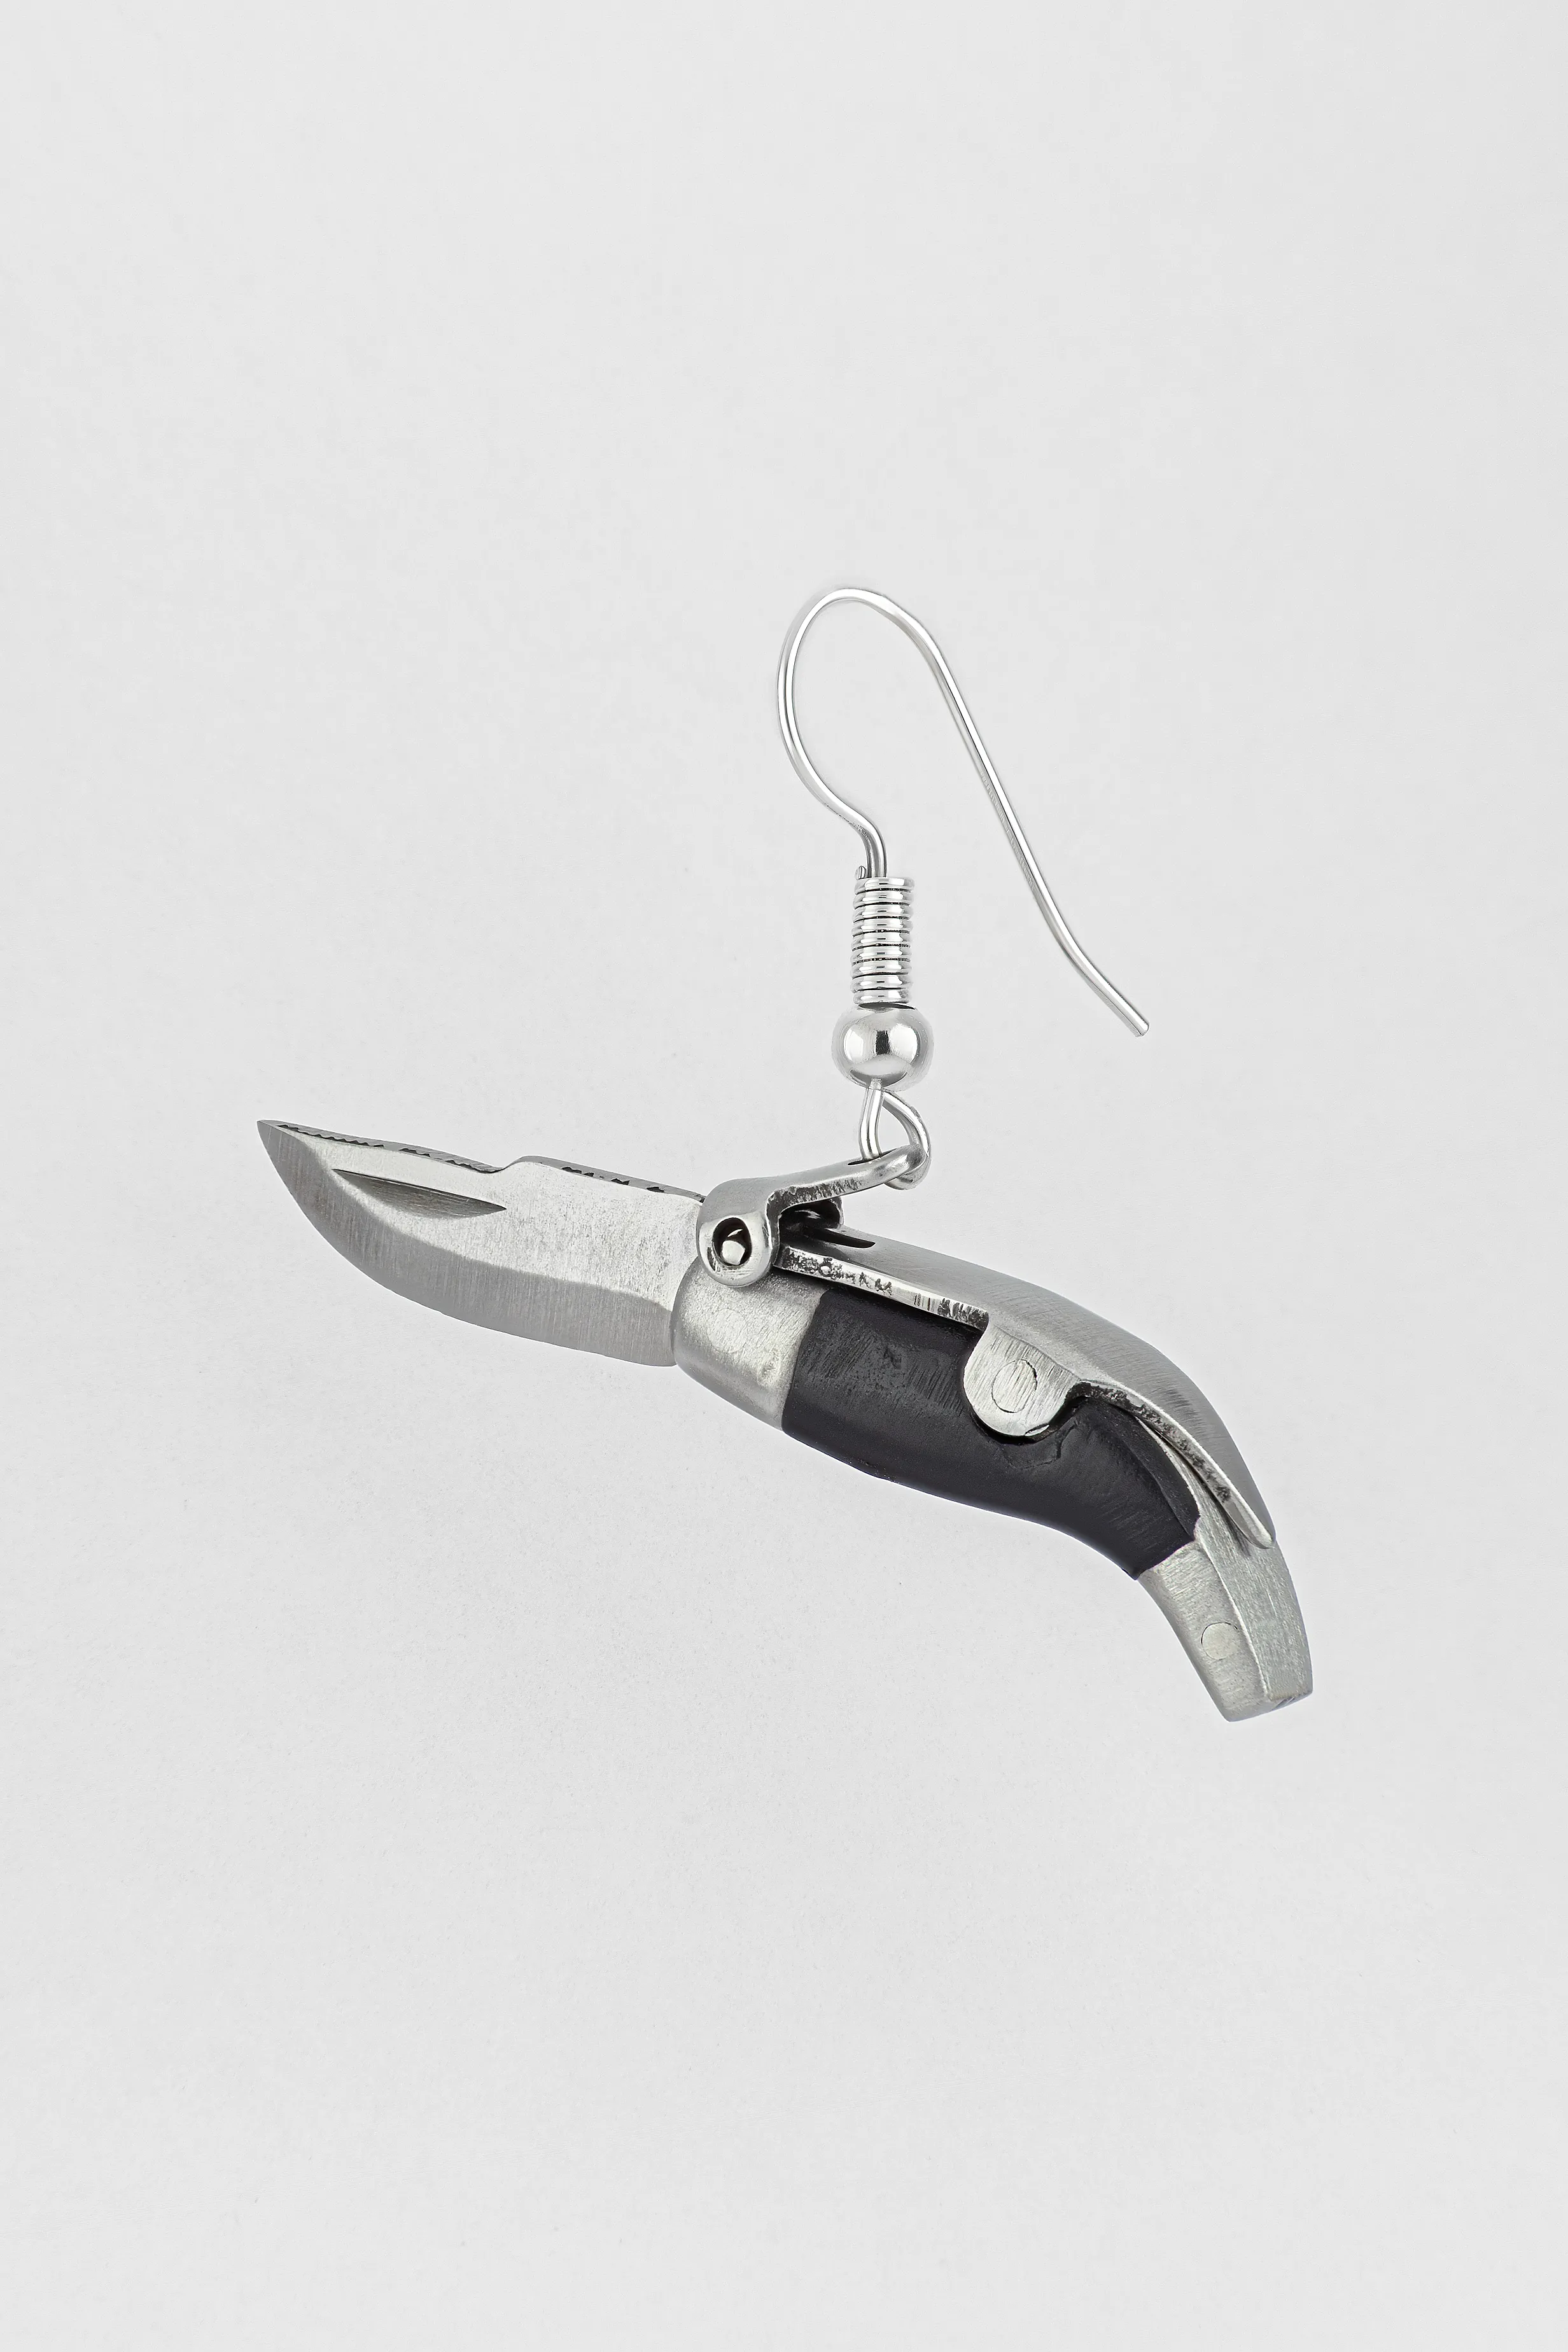
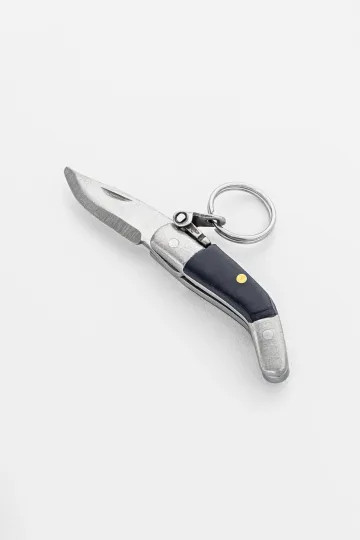
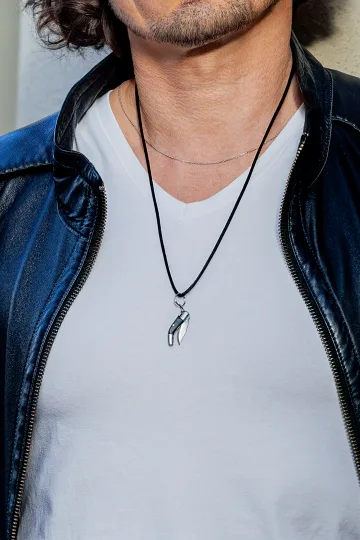
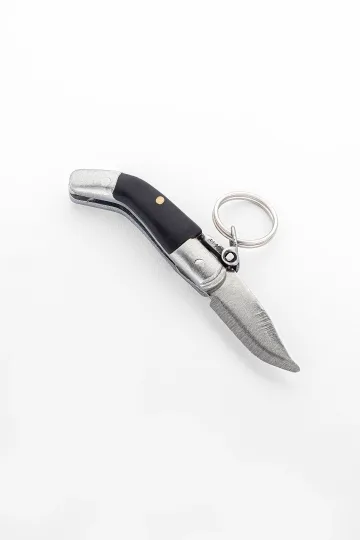
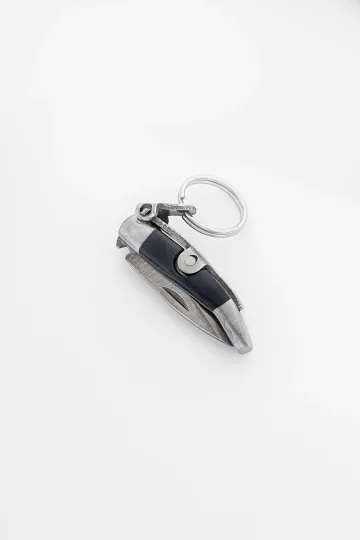
Artisan-crafted CAPAORA navaja pendant
A 40 mm stainless-steel navaja with a real folding mechanism and Palanquilla lock. An affordable gift to remember.
A code for blog readers:
10% off your first order
Authentic · Maker's guarantee · Ships from Spain
Storage When Travelling
Travel is where tangling reaches its worst. Chains in a pouch, pouch in a suitcase, suitcase on a conveyor belt. Every bump is a tumble. Every tumble is a knot.
The straw-plus-zip-lock method
Each chain threaded through a straw, straw placed in a small zip-lock bag. Flat, light, fits in any suitcase pocket. Zero knots across a transatlantic flight and a week of hotel stays. This is the method professional stylists use for photo shoots and fashion weeks.
The book method
Open a hardcover book to a random page. Lay a chain flat across the page. Close the book. The chain is sandwiched between pages, unable to form loops. Multiple chains on different pages of the same book. Effective but slightly eccentric.
Travel jewellery organiser
A dedicated travel jewellery case. Zip pockets, loops for earrings, compartments for rings, and chain hooks or pockets. Costs about the same as three coffees. Solves the problem permanently. Look for one with individual chain pockets or hooks, not a single open compartment.
The button method
Thread each chain through the holes of a button and fasten the clasp. The button prevents the chain from moving freely. Simple, uses things you already have, and takes about ten seconds per chain.
The "one set per day" rule
Travelling for five days? Take five sets (chain plus pendant each). Each in its own zip-lock or straw. Not ten chains loose in a pouch. Fewer options means less tangling. Edit your choices before packing, not after untangling at the hotel.
Wear your most valuable piece
The safest place for your favourite chain during travel is around your neck. No bag, no suitcase, no risk of theft or tangling. Wear it through the airport, on the plane, to the hotel. One less thing to pack.
Cling film for moving house
Lay each chain flat on a piece of cling film. Wrap it. The film sticks to itself and holds the chain in position without any folding. No knots, no sliding. Stack all wrapped chains in a box. For moves and long-term storage, this is one of the most space-efficient methods.
Five chains at the same length aren't a stack, they're a pile-up on your collarbone. Give each its own length and hush.
How to Wear and Layer Your Chains
Over years on shoots, hundreds of chains have passed through my hands, thin ones and heavy ones, obedient ones and eternal knot-makers. Here is what actually works when you want to wear a chain, not untangle it.
How do I wear several chains without tangling them? I recommend building your stack from different lengths: say 40, 50 and 60 cm. That way the chains travel on their own orbits and barely touch. To the different lengths I add different thicknesses and different weaves, so there are even fewer snags. And at the nape I suggest a separator with two or three loops, which clears the last of the friction.
How do I choose length for a neckline? I choose the length for the neckline, not the other way round. For a V-neck or an open collar I go longer, 50 to 60 cm, so the chain lands in the open zone. For a round, closed neck I suggest shorter, 40 to 45 cm, so the line reads above the fabric instead of sinking under it.
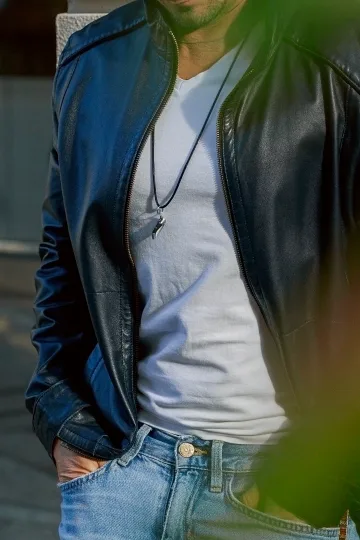
How do I keep a fine chain from disappearing on the skin? A thin chain up to 1 mm I like to wear with a small pendant, so the eye has a point to catch. Over a light top it reads faintly, over a dark one it sparks. If you want it louder, I add a second, slightly heavier chain and the fine one plays on the contrast.
Which chain do you suggest for daily wear with no fuss? For every day I choose a solid weave from 2 mm up: box, curb or bismarck. They hold their shape, barely tangle and live happily on the neck without coming off. One pendant on a chain like that as a single set, clasp always closed, and the morning runs without needles.
How do I build an evening stack? For evening I suggest an open neckline and polished metal, which catches light better than matte. I keep the stack to two or three chains of different lengths so the pendants do not collide. One strong line on bare skin at the collarbone beats five tangled ones, so do not overload it.

Turn on your camera, pick earrings, a pendant or a ring, and see the piece on yourself in real time.
Switch items in one tap.
Everything runs in your browser: no photo or video is ever uploaded.
When a Chain Cannot Be Saved
Sometimes honesty is the kindest option.
Dead knot on a snake chain. A snake chain in a tight knot deforms: the individual links buckle. Even if you untie it, a bend remains. The chain will not lie flat. It will always have a kink at the point where the knot was. A jeweller can try to straighten it, but no guarantees. If the kink is severe and visible when worn, the chain is finished.
Stretched link. Trying to force a knot open stretches a link. On a thin chain, this is visible as a gap in the pattern. A jeweller can remove the damaged link (the chain will be about 1 cm shorter), which fixes the issue but shortens the chain. On a very thin chain, multiple stretched links may not be worth repairing.
Multiple knots on a very fine chain. Three or more knots on a 0.8 mm chain: it is simpler and cheaper to replace it than to spend an hour with needles. The time spent untangling three micro-knots on a hair-thin chain is worth more than a new chain.
Knotted with another chain. Two chains tangled together into a single mass. This is the hardest scenario. Work one chain at a time: find the free end of one chain and trace it through the tangle, pulling it free. Then address the knots on each chain individually. If both chains are fine (under 1 mm), this may take 30 minutes or more.
The cost-benefit calculation. If the chain cost the same as a coffee and you have been working on it for 20 minutes, stop. Replace it. If the chain has sentimental value or cost a significant amount, keep going. The physics does not care about sentiment, but you do.
Leave your email, we'll send your discount code. No spam, unsubscribe anytime.
The code arrives by email, valid on your first order.
A Jeweller's Perspective
When a customer brings in a tangled chain, we see the same thing every time: they pulled the ends. The knot is compressed into a hard little ball. If they had left it loose and brought it in immediately, we could have fixed it in two minutes. After pulling, it takes ten.
The best thing you can do when you discover a tangle is nothing. Do not touch it. Do not pull. Put it on a flat surface and bring it to someone with thin tools and patience. Or apply oil and needles yourself, following the method above. But the instinct to pull, the one that every single person has, that is the enemy.
Can a jeweller untangle chains for you? Yes, and most will do it for free or for a small fee. They have fine-tipped tweezers, magnification, and the patience that comes from doing this hundreds of times. No shame in outsourcing it, particularly for very fine chains where the risk of damaging the links yourself is real.
Specific Chain Types and Their Tangling Tendencies
Not every chain behaves the same. The chain type determines how often and how severely knots form.
Snake chain
The record holder among tangling chains. The smooth surface and extreme flexibility make it the perfect knotting machine. Worse: a knot in a snake chain deforms the links permanently. Even after untying, a bend remains. The chain will not lie flat. It will always have a kink at the point where the knot was. Storage: always hanging, never lying flat. Always separate, never together. The snake chain is the diva among chains. It needs its own space.
Cable chain (anchor chain)
The standard chain. Moderately knot-prone. Individual links can interlock, but knots are easier to undo than in snake chains. A good everyday choice for people who do not want to constantly worry about storage.
Curb chain
Flatter links that lie next to each other. Less prone to knotting than cable chains because the flat construction makes loop formation harder. From 2mm width, curb chains are practically knot-free.
Fox tail chain
A braided chain with V-shaped links. Relatively stiff, relatively knot-proof. The weave prevents individual links from interlocking. A good choice for people with zero patience for knots.
Bismarck weave
The anti-knot champion. This broad, stiff chain barely bends enough to form a loop. Physically almost impossible to knot. If tangling is your main problem and you are willing to sacrifice delicacy, go Bismarck.
Box chain
Square-section links that click together in a rigid pattern. Considerably more tangle-resistant than cable chains of the same thickness. The square geometry resists loop formation and the links do not catch on each other the way round-section links do. A good middle ground between elegance and practicality.
Figaro chain
Alternating long and short links. The variation in link size creates a slightly irregular surface that reduces the tendency for adjacent sections to slide smoothly into loops. Slightly more tangle-resistant than a plain cable chain of equivalent weight.
Rubber or leather cord
Technically not a chain, but relevant as a wearing option. Rubber has no links that interlock. It only knots if you deliberately knot it. For daily wear with a pendant, it is the simplest solution of all.
The Time Factor: Why Knots Get Worse
A fresh knot is loose. The links are loosely intertwined. A drop of oil and thirty seconds of work, done.
But leave the knot for a day. Wear the chain with the knot. Move around. The knot gets pulled slightly tighter with every movement. After a day, it is twice as tight. After a week, it is a small metal ball.
The lesson: deal with knots immediately. Now. Not tomorrow. Not "when I have time." Every hour that passes makes the job longer and the outcome less certain.
This is like most problems in life. The sooner you address them, the easier the solution. But you already know this. You are probably reading this article because you have a knot that has been sitting there for a few days.
The Emotional Component: Why We Get Attached to Chains
Chains are not just chains. A gift from a grandmother. A holiday souvenir. A pendant from a partner. Some chains have a value that goes far beyond their material worth.
That is why the cost-benefit calculation for knotted chains is not purely financial. A 20-pound chain with sentimental value is worth more than a 200-pound chain without a story. Invest the patience where it counts.
And if a chain truly cannot be saved (dead knots, deformed links, broken jump rings): keep the pendant. Hang it on a new chain. The chain is the transport system. The pendant is the heart. Chains are replaceable. Pendants with stories are not.
Send a friend a discount code, they save on their first order.
Prevention: The Best Solution Is No Knot
Untangling is the emergency measure. The actual solution is prevention. And prevention is simpler than most people think.
The one-hook-per-chain rule
One chain, one hook. No exceptions. Two chains on one hook will tangle within a week. Gravity keeps them straight, but as soon as they touch and slide against each other, loops form.
Always close the clasp
An open lobster clasp is the main cause of tangling during storage. The open hook threads through chain links like a needle through fabric. Solution: always close the clasp before hanging. One second of effort that saves hours of frustration.
Never dump chains together in a drawer
The physics is clear: any flexible string longer than 46 cm will knot when agitated. Two strings together will knot with each other. A drawer full of chains is a knotting machine. Every time you open and close the drawer, you give it a shake. Every shake is a potential knot.
The daily habit that takes three seconds
Every time you take off a chain, close the clasp and place it on its hook, in its bag, or through its straw. That is it. Three seconds. The entire storage problem reduces to this one action performed consistently.
Building a DIY cork board in 30 minutes
A project worth doing if you keep more than five chains:
- A cork board (from any craft shop or hardware store) sized to the inside of a wardrobe door
- Small brass pins or cup hooks every 4 cm
- Fixed to the inside of the wardrobe door with adhesive strips or two small screws
- Each chain on its own pin, clasp closed
The result: every chain hangs straight, separated, visible from the front, and protected from dust by the closed door. The total cost is negligible. The time investment is one Saturday afternoon. The payoff is every morning for years.
Silver and gold jewellery, wedding bands, symbolic pendants, paired sets.
Common Questions
Why does a new chain tangle straight away? Physics. Any flexible string longer than 46 cm forms knots when it moves. Mathematically proven by UC San Diego researchers. Not a defect. A property of the material.
Which chain never tangles at all? A stiff Bismarck weave 3 mm or thicker, shorter than 40 cm. Or a leather cord. Or rubber. Anything without flexible links. If you want zero tangling with zero effort, choose a thick, short, rigid chain.
Will oil damage my chain? Olive oil and baby oil are safe for any jewellery metal, including stainless steel, silver, brass, and gold. Wash with soap after untangling. For stainless steel, it makes absolutely no difference either way.
Is it worth buying an expensive jewellery box? Zip-lock bags costing pennies work better than a box costing 100 pounds, if that box has no separate compartments. It is not about price. It is about the principle: each chain stored separately. A 200 pound velvet-lined box with one open compartment is a tangling machine. A 2 pound pack of zip-lock bags is a solution.
How do I store a layering set? Do not take them off your neck one at a time. Remove them all together (if the clasps allow) and hang them on one hook. Or use a necklace separator, which you can leave attached at the clasp end when storing.
My child tangled all my chains into one ball. Oil plus needles plus patience plus a cup of tea. It will take a while. But it will untangle. Start with the chain that has the most visible free end. Work it out first. Then the next. The last chain, freed from all the others, usually unknots easily.
Can a jeweller untangle chains? Yes. Most jewellers will do it for free or for a small fee. They have the tools (fine-tipped tweezers, magnification) and the experience. No shame in outsourcing this.
Does the clasp type affect tangling? Lobster clasps and spring rings can thread through chain links, creating knots. Toggle clasps (a bar through a ring) are less likely to thread through links because the bar is wider than the links. If tangling is a persistent problem, consider switching to a toggle clasp.
My pendant keeps spinning and facing backwards. Why? The pendant's bail (the loop it hangs from) rotates freely on the chain. This is a design issue, not a malfunction. The fix: use an oval or flat jump ring between the bail and the chain, which limits rotation. Or choose pendants with flat bails that cannot rotate.
Can I get a magnetic clasp fitted to a chain that does not have one? Yes. A jeweller can replace an existing lobster clasp with a magnetic clasp in about five minutes. Costs very little and saves you five seconds every day putting it on and taking it off. Particularly useful if you have reduced fine motor control. One caveat: magnetic clasps hold less tension than lobster clasps. With heavy pendants, a lobster clasp is more secure.
How do I clean a chain after using oil to untangle it? Warm water plus a drop of washing-up liquid. Soak 30 seconds, move the chain gently, rinse, dry with a soft cloth. For stainless steel, a plain rinse is enough. For silver and brass, dry thoroughly, as moisture accelerates tarnishing.
My chain caught on clothing and snapped. Is it repairable? Usually yes. Collect all the pieces including the clasp. A jeweller can remove the damaged link and reconnect the two ends. The chain will be 1 to 2 cm shorter. On chains under 1 mm, the repair is more delicate but still generally possible.
Wear the symbol, don't just read about it. These are in stock:

About Zevira
Zevira makes jewellery by hand in Albacete, Spain. We know the cost of a tangled chain firsthand, so we pick weaves and clasps that are less likely to knot, and we build our pendants so the bail holds its shape instead of spinning around on the chain.
Here is what you will find with us on the subject of chains and storage:
- Chains in a range of thicknesses, from delicate 1 mm pieces to rigid 3 mm Bismarck weaves that barely tangle at all
- A choice of weaves: cable, curb, figaro, box, and snake, one for every everyday situation
- Pendants with flat and oval bails that stay put instead of flipping around on the chain
- Matched chain-and-pendant sets you can store and wear as a single unit
- Chains in different lengths for layering without the back-of-the-neck overlap
- Dependable clasps that close in one motion and will not thread through the links
Every piece is made by hand, with the option of personal engraving. Sterling silver 925 and 14 to 18K gold.